
DIY – How to install a grook utility holder with the right hardware
By A Jones For Organizing In General organizingWant to hear about one of my favorite organization products? It’s the Grook Utility Holder by Casabella. The name Grook comes from a portmanteau of “grip” and “hook.” (How often do you get to use the word portmanteau? Not often, and I’m so happy that I got the chance.)
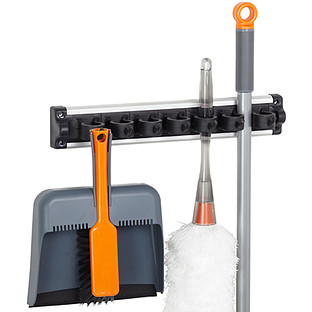
Grook Utility Holder
image courtesy of containerstore.com
You can buy the Grook utility holder at Amazon.com, the Container Store, and some home improvement stores. I like to use the Grook hook for storing umbrellas, cleaning tools, and yard tools. It’s especially good for long-handled items like brooms and mops and shovels and rakes, because as the name suggests, it grips them in place. You really have to use some force to pull the handles out, which is why I’ll talk about hardware and give you some cool tool tips, further down.
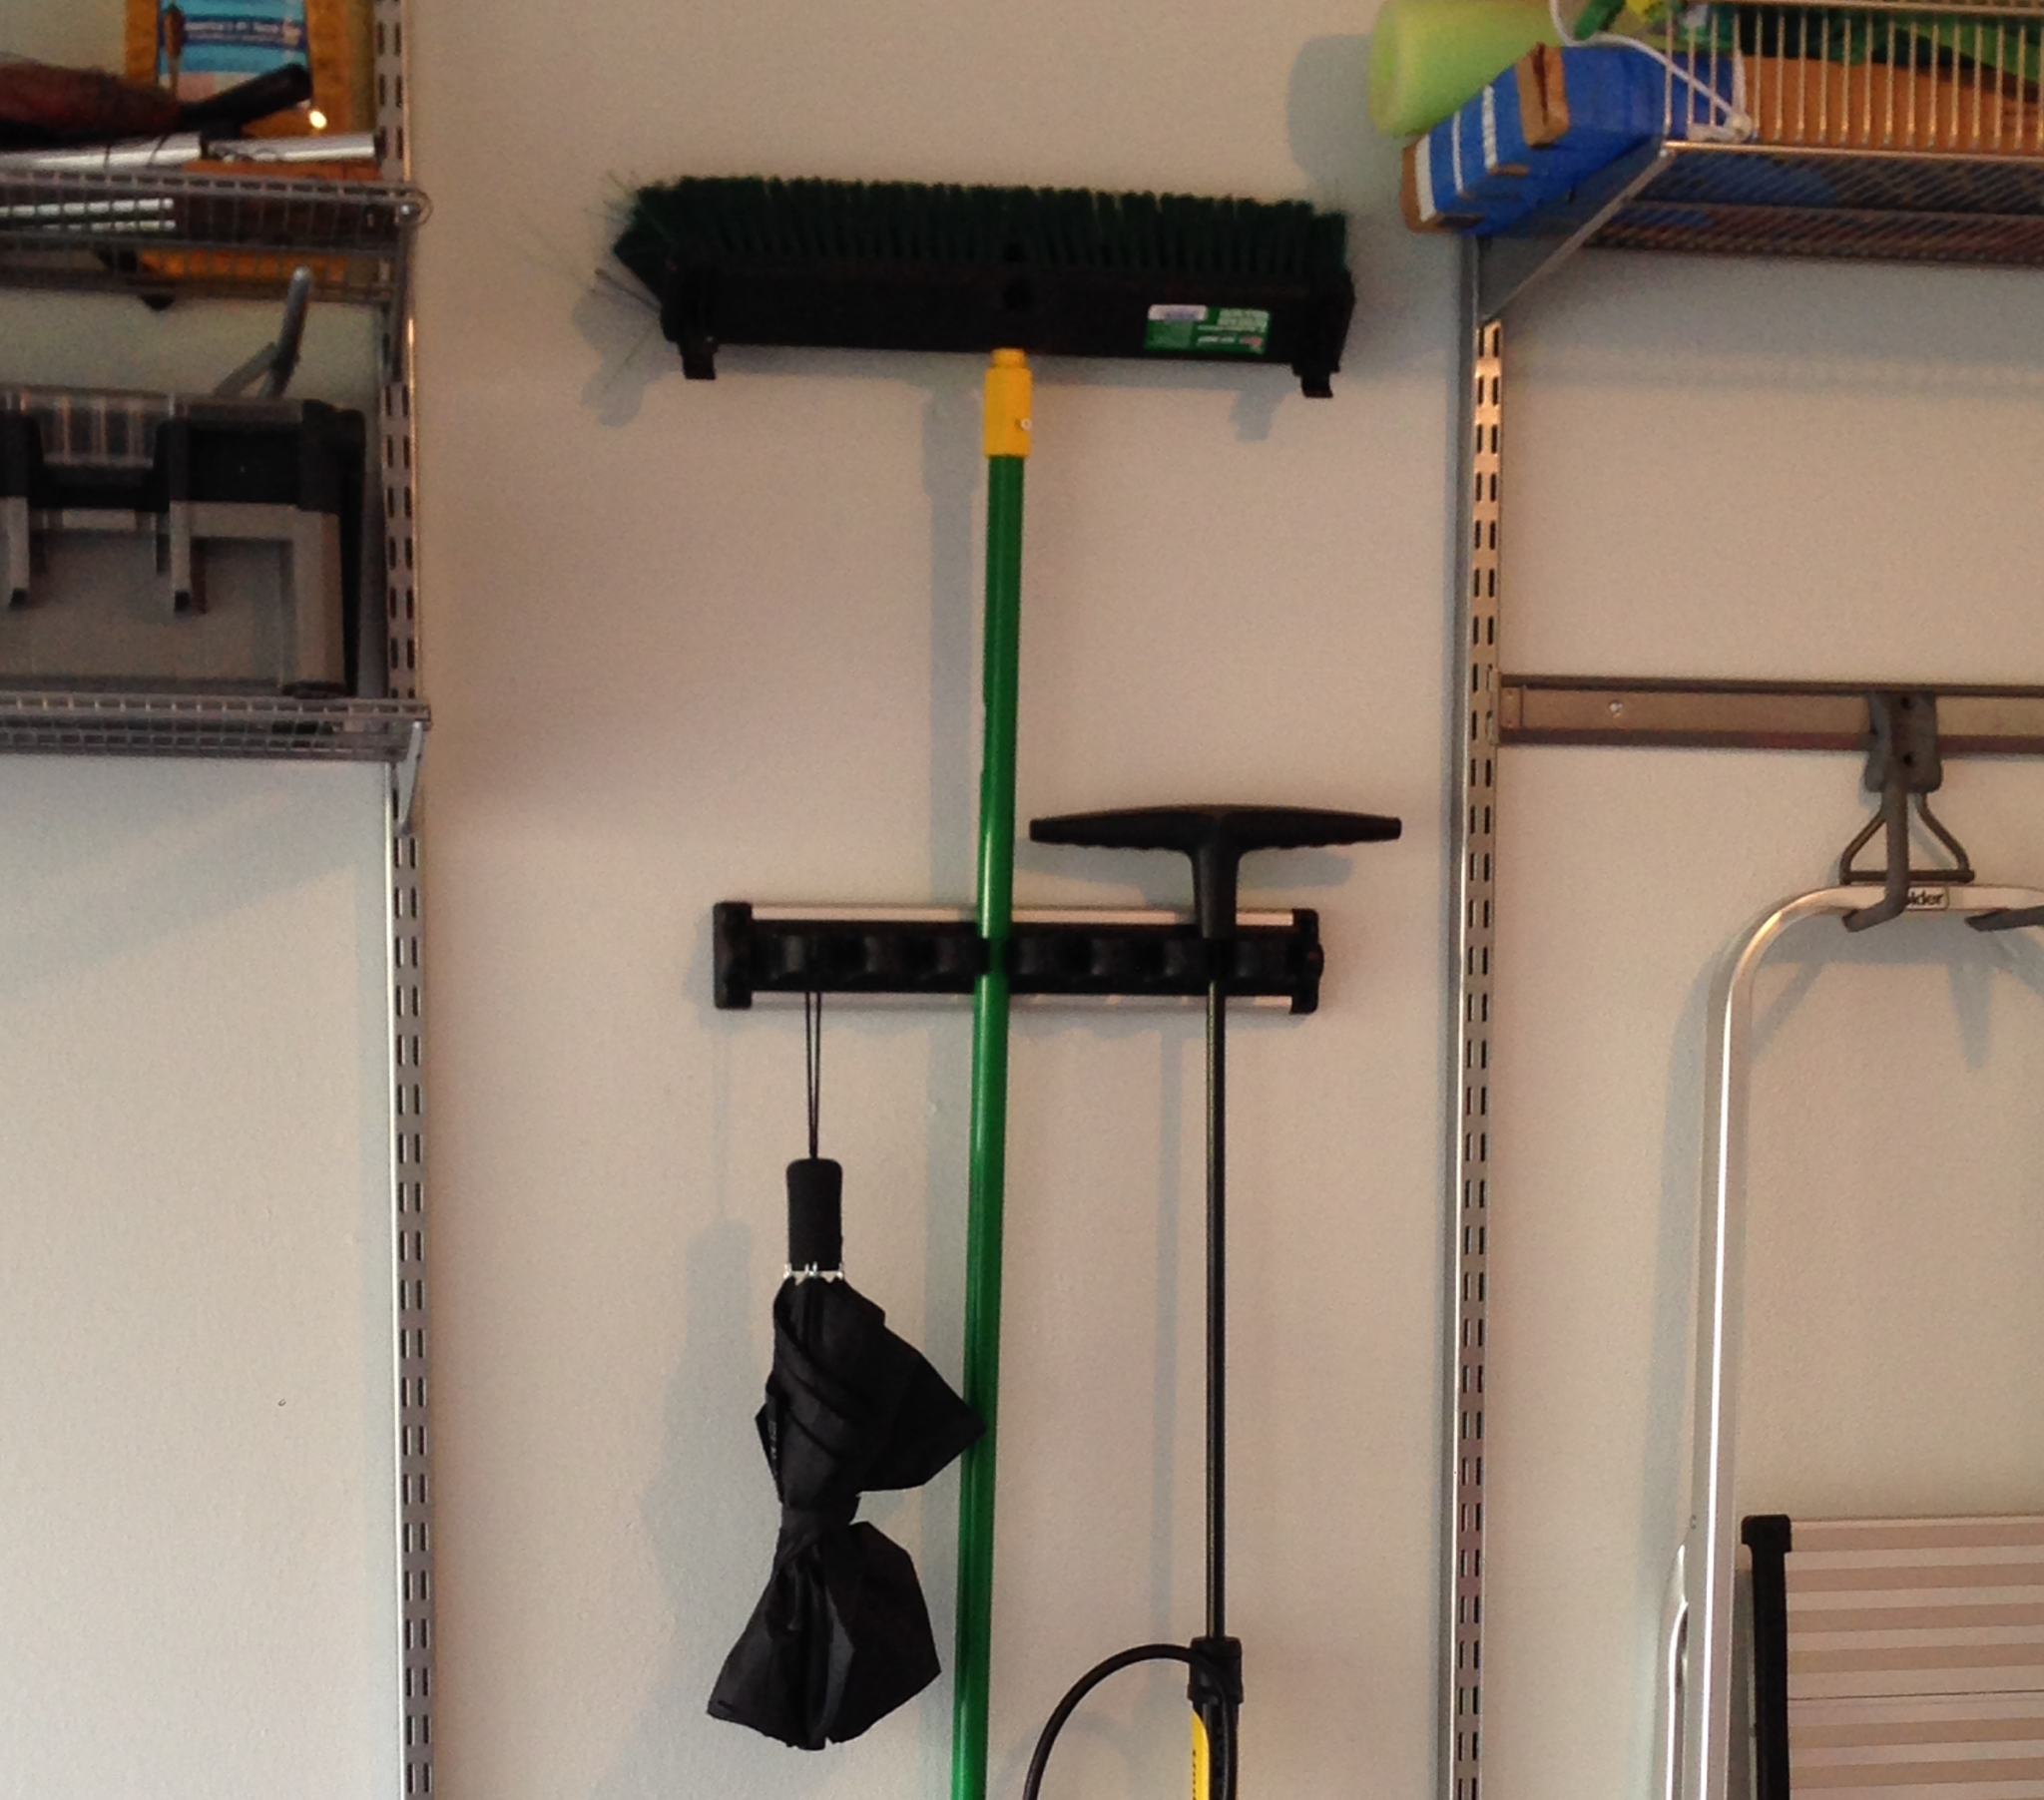
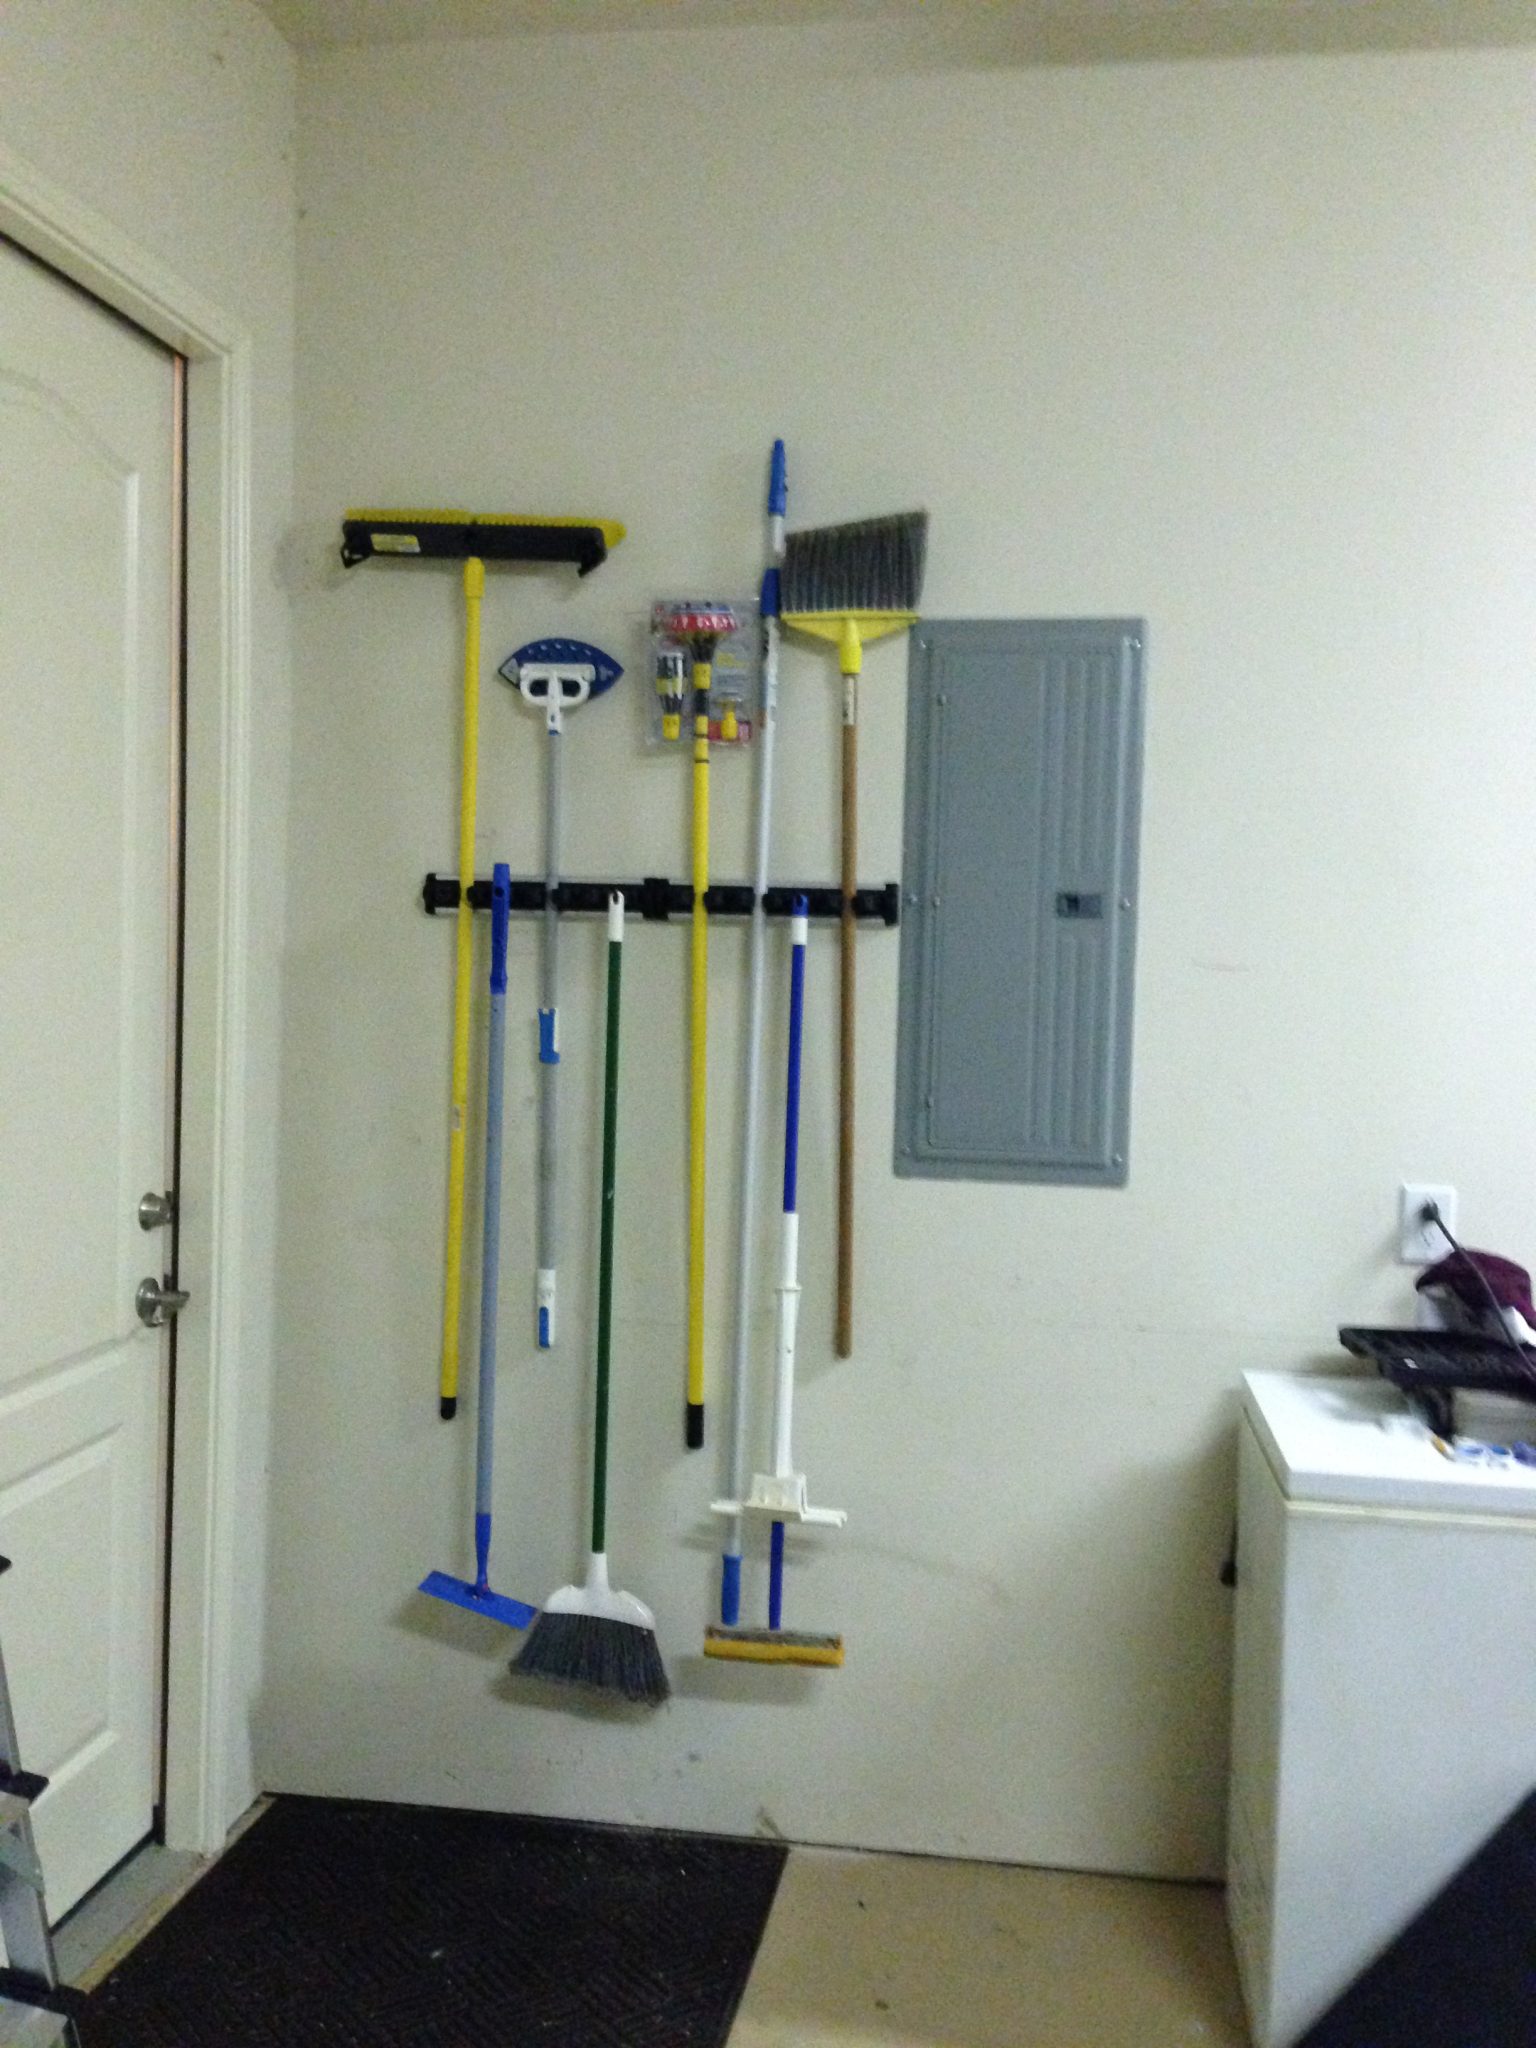
See the picture below, where that push broom handle isn’t falling down through the holder? I LOVE it when things stay put, after I put them back in their home when I’m finished with them.
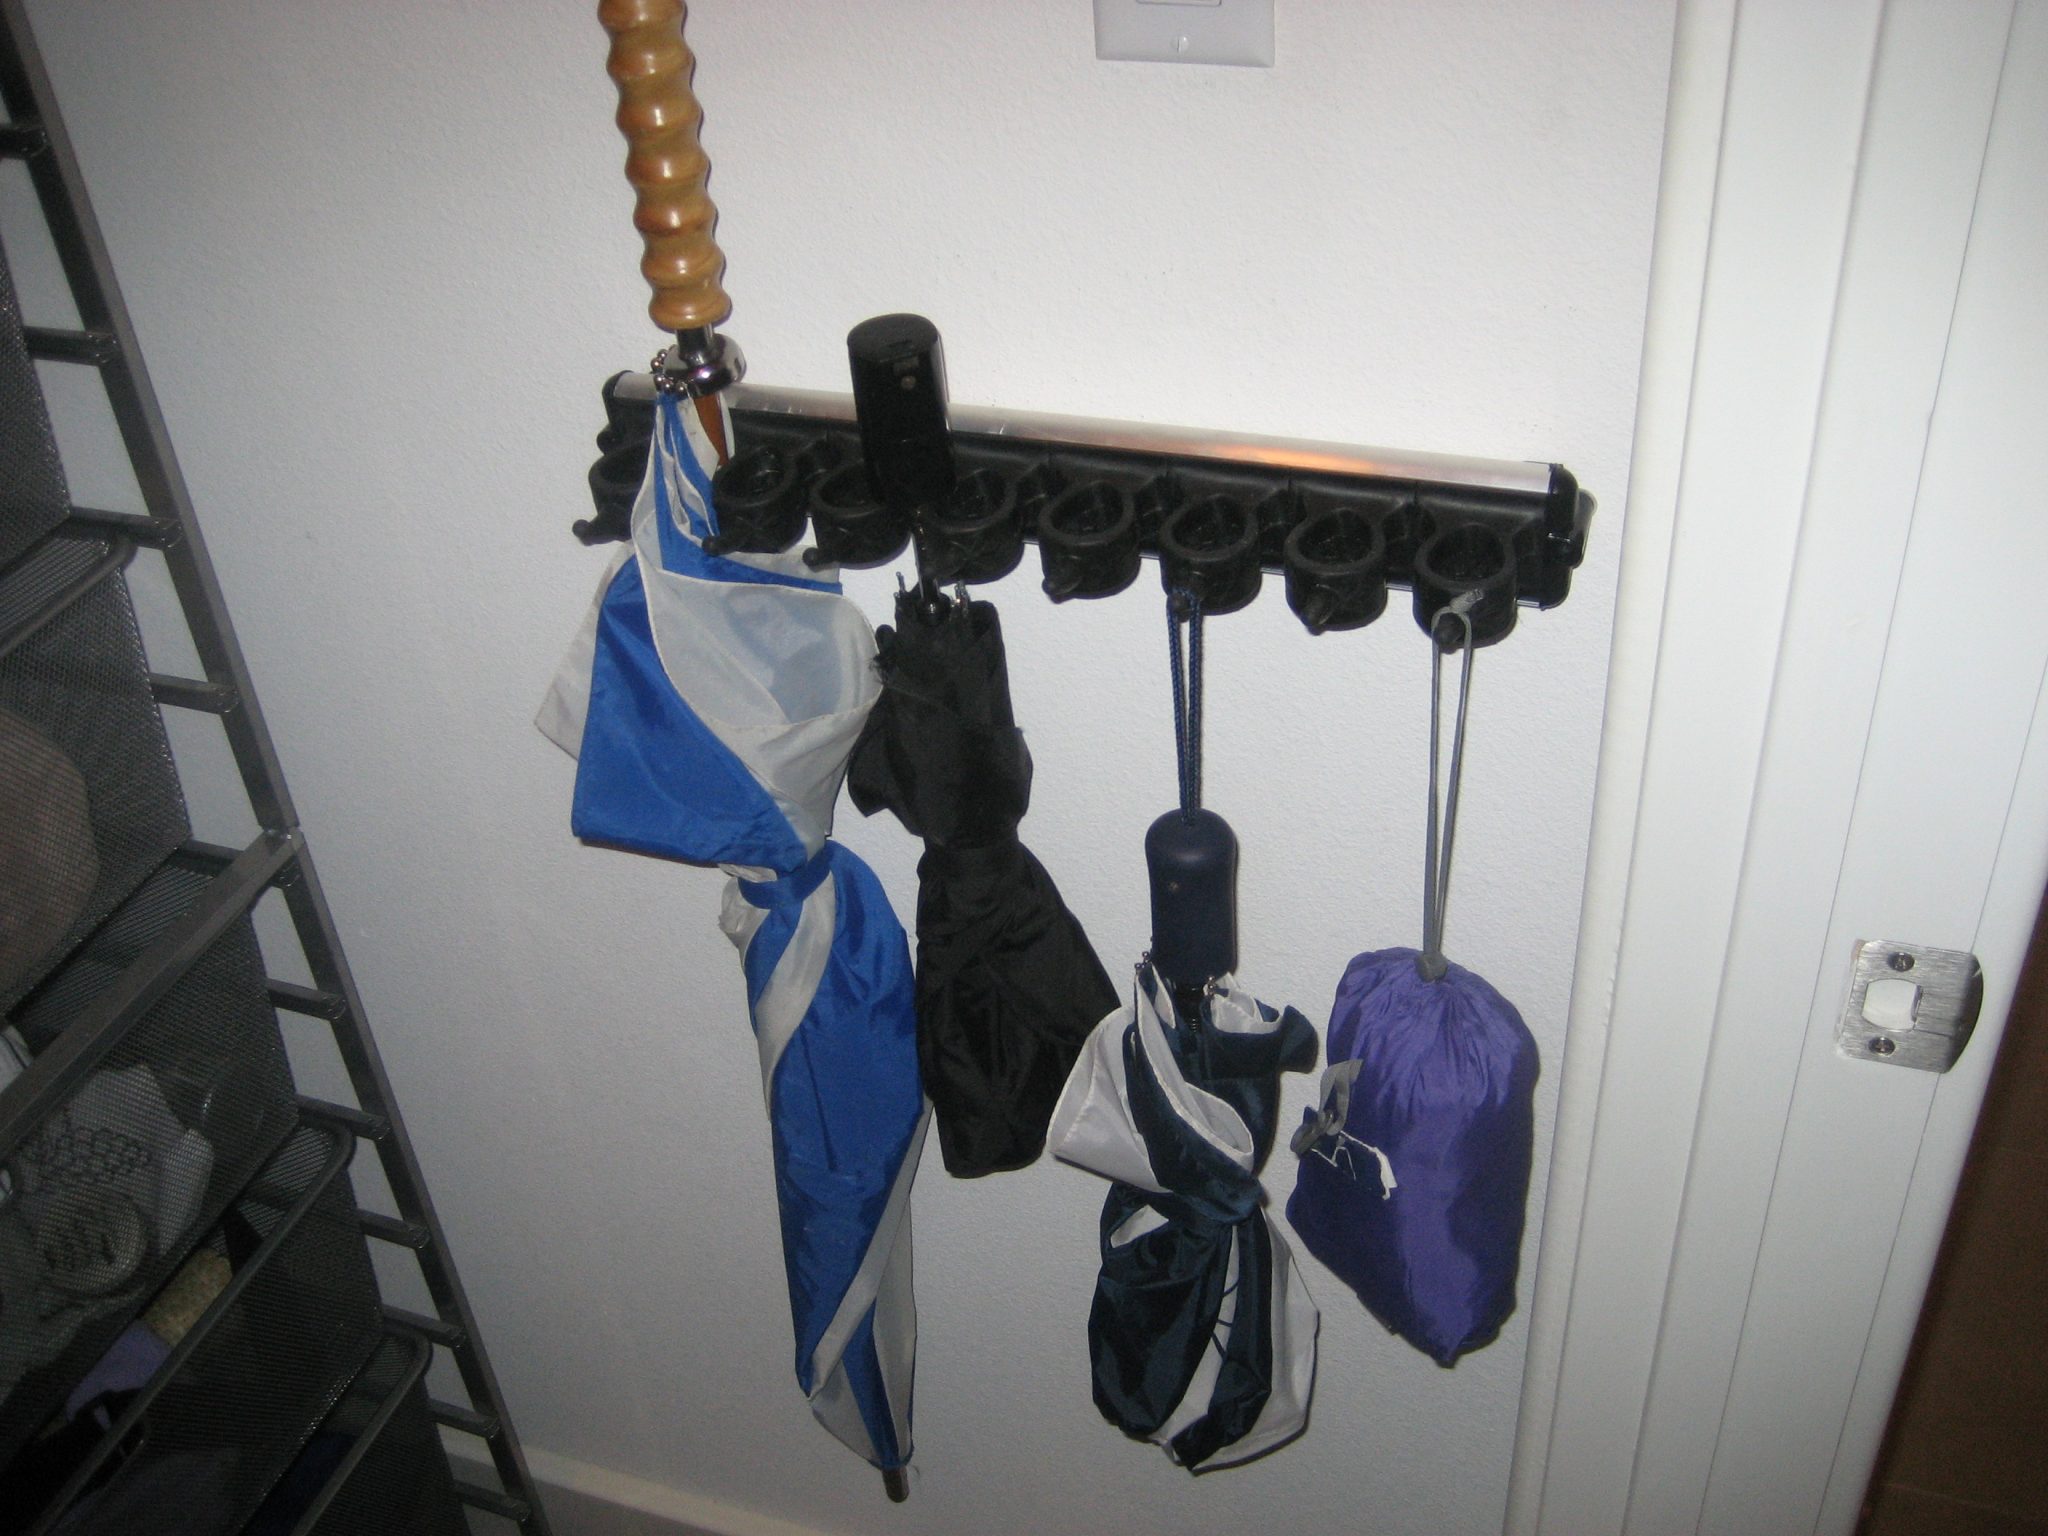
I use it a lot for storing umbrellas. If the umbrella has a strap you can simply hang it on a hook along the front of the Grook. If it doesn’t, you may be able to push the umbrella handle in between the pressure clamps, as shown below.
Since it grips handles so tightly, you can alternate broom and mop heads to fit more of them in the space. Below, I installed two long Grook holders side by side.
The Problem
Here’s the problem, though, and the reason for this article. Since the Grook utility holder grips handles so tightly, it takes extra pulling effort to retrieve that broom handle. And that tugging and pulling is going to eventually pull your hardware out of the wall and you will be very sad.
Spoiler alert for those who just need to know the solution: I recommend using 3/16″ x 3″ long toggle bolts instead of the drywall anchors that come with the product, to prevent the Grook from getting pulled out of the wall.

I’ll show you why and how, if you want to stay with me.
Gravity Is One Thing, But Your Arm Strength Is Something Else Entirely
If you think about it, most wall-mounted hooks have only one simple job. They have to keep things from falling down on the floor, because, you know, gravity.
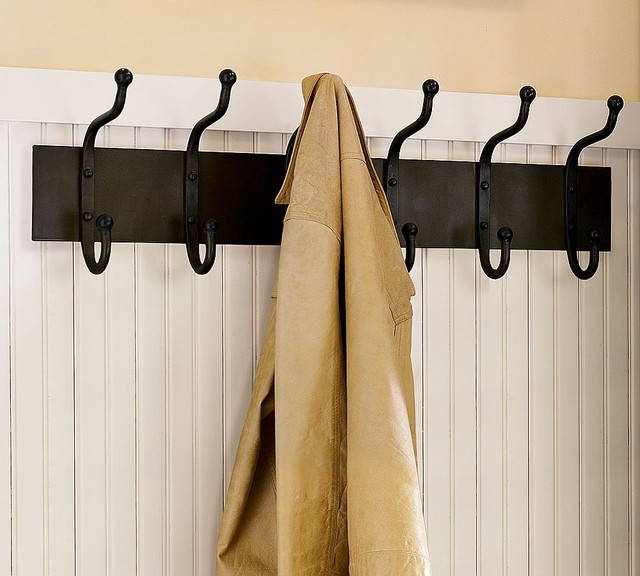
image courtesy of houzz.com
Gravity is a particularly stubborn force that never takes a vacation, and never changes its mind about which direction to pull. So it’s always important, when installing any kind of wall-mounted hooks, to use good sturdy hardware to keep those hooks in place while the items on the hook are constantly being tugged downward.
As Adam Savage of MythBusters says, “Gravity. It’s not just a good idea. It’s the law!”
But with the Grook, gravity is not the primary force to deal with. The Grook holds things tightly with pressure clamps. So, unlike other wall-mounted hooks where the pulling force is gravitational downward to the ground, the pulling force on the Grook is outward, away from the wall, as you tug on it. See how much force is needed to remove the broom handle?
Regular wall anchors simply will not hold up to this much perpendicular force. To keep the Grook securely fastened in hollow drywall like it is here while it’s being pulled away from the wall, you have to use toggle bolts. (By the way in case you’re wondering, drywall is also called sheetrock, you say potayto, I say potahto.)
But, Shouldn’t I Install It In A Wood Stud?
Yes. Yes, in an ideal world, you would do this. You would find a spot with wood studs behind the wall, and screw the Grook hook directly into those studs. If you find a location for your Grook holder that has wood studs behind it, you’re golden. Level it, mark your holes, drill some pilot holes, screw it in, and you’re done. (Or alternatively, first find a 1″ thick wood strip, screw that wood piece into the studs, and then attach the Grook to that.) If that happens, you don’t need the rest of this article.
Where’s A Stud When You Need One?
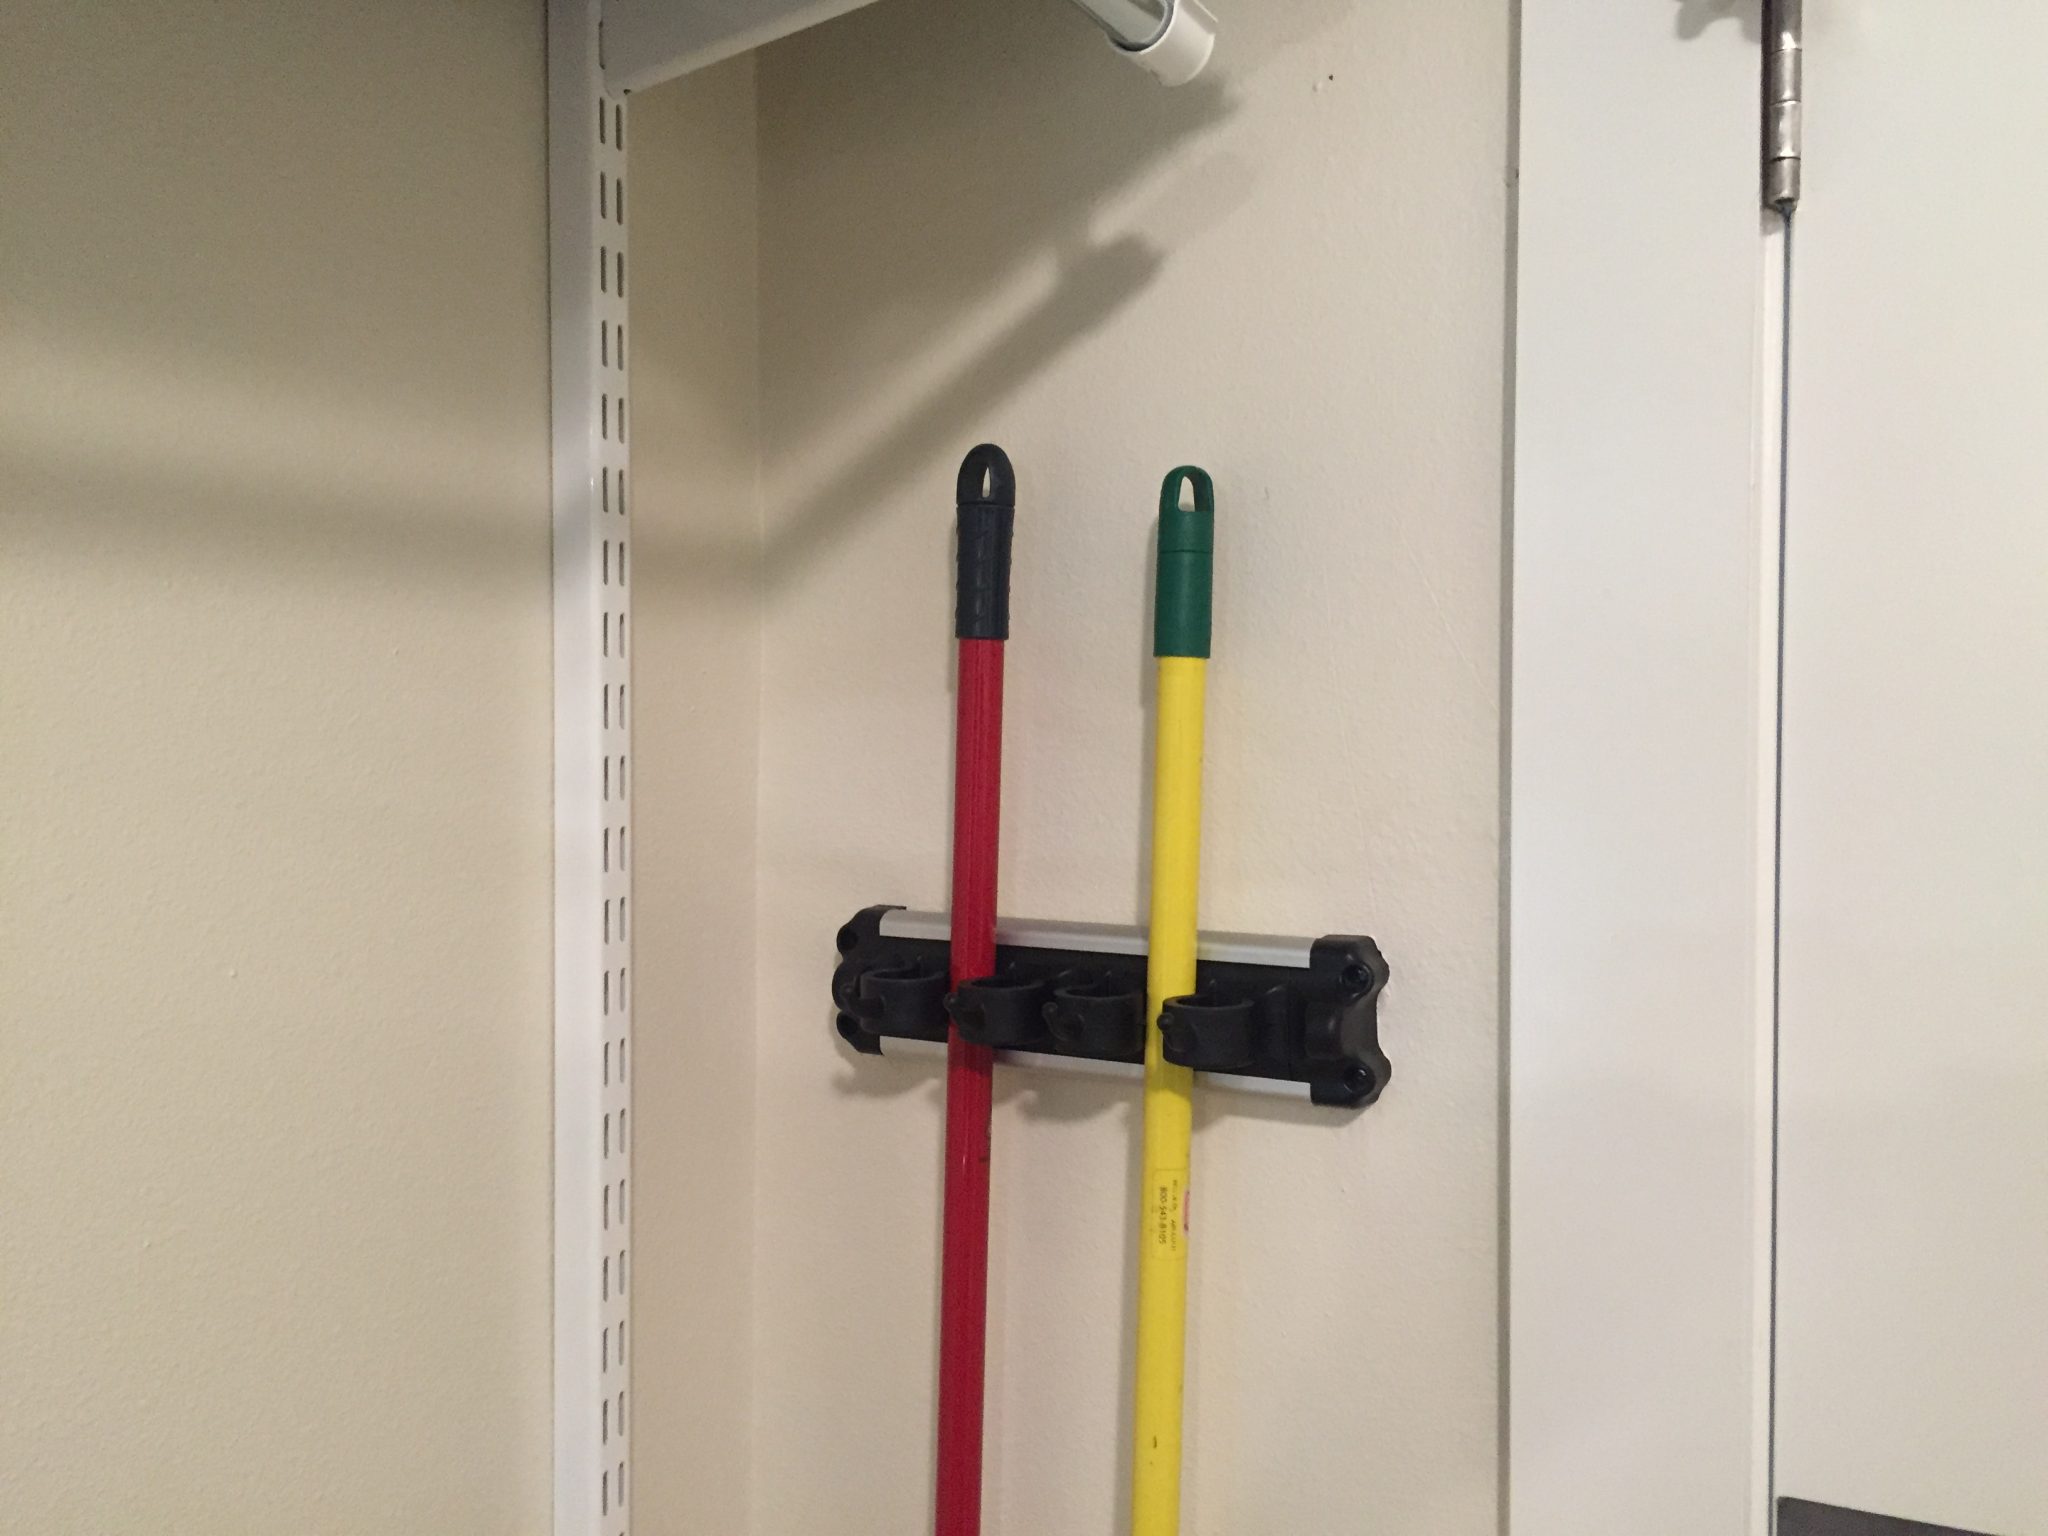
But having studs in the wall right where you want your Grook to be just isn’t possible, most of the time. I have installed numerous Grook holders in my clients’ homes over the years. In my experience, the perfect spot for them is virtually never where there are wood studs behind the drywall.
As an example, see my short little Grook here, on this narrow wall? That is a perfect spot for it, right? But the studs are in the corners and by the door trim, not in the middle, where I want my Grook to go. This is simply the reality of standard building practices. So, you’re going to need the right hardware to install it over hollow drywall.
Use Toggle Bolts
Therefore, I finally (!) arrive at my point: To install the Grook securely into hollow drywall, use toggle bolts. While you’re at the hardware store, ask them to find you a few other useful tools.
Suggested Tools:
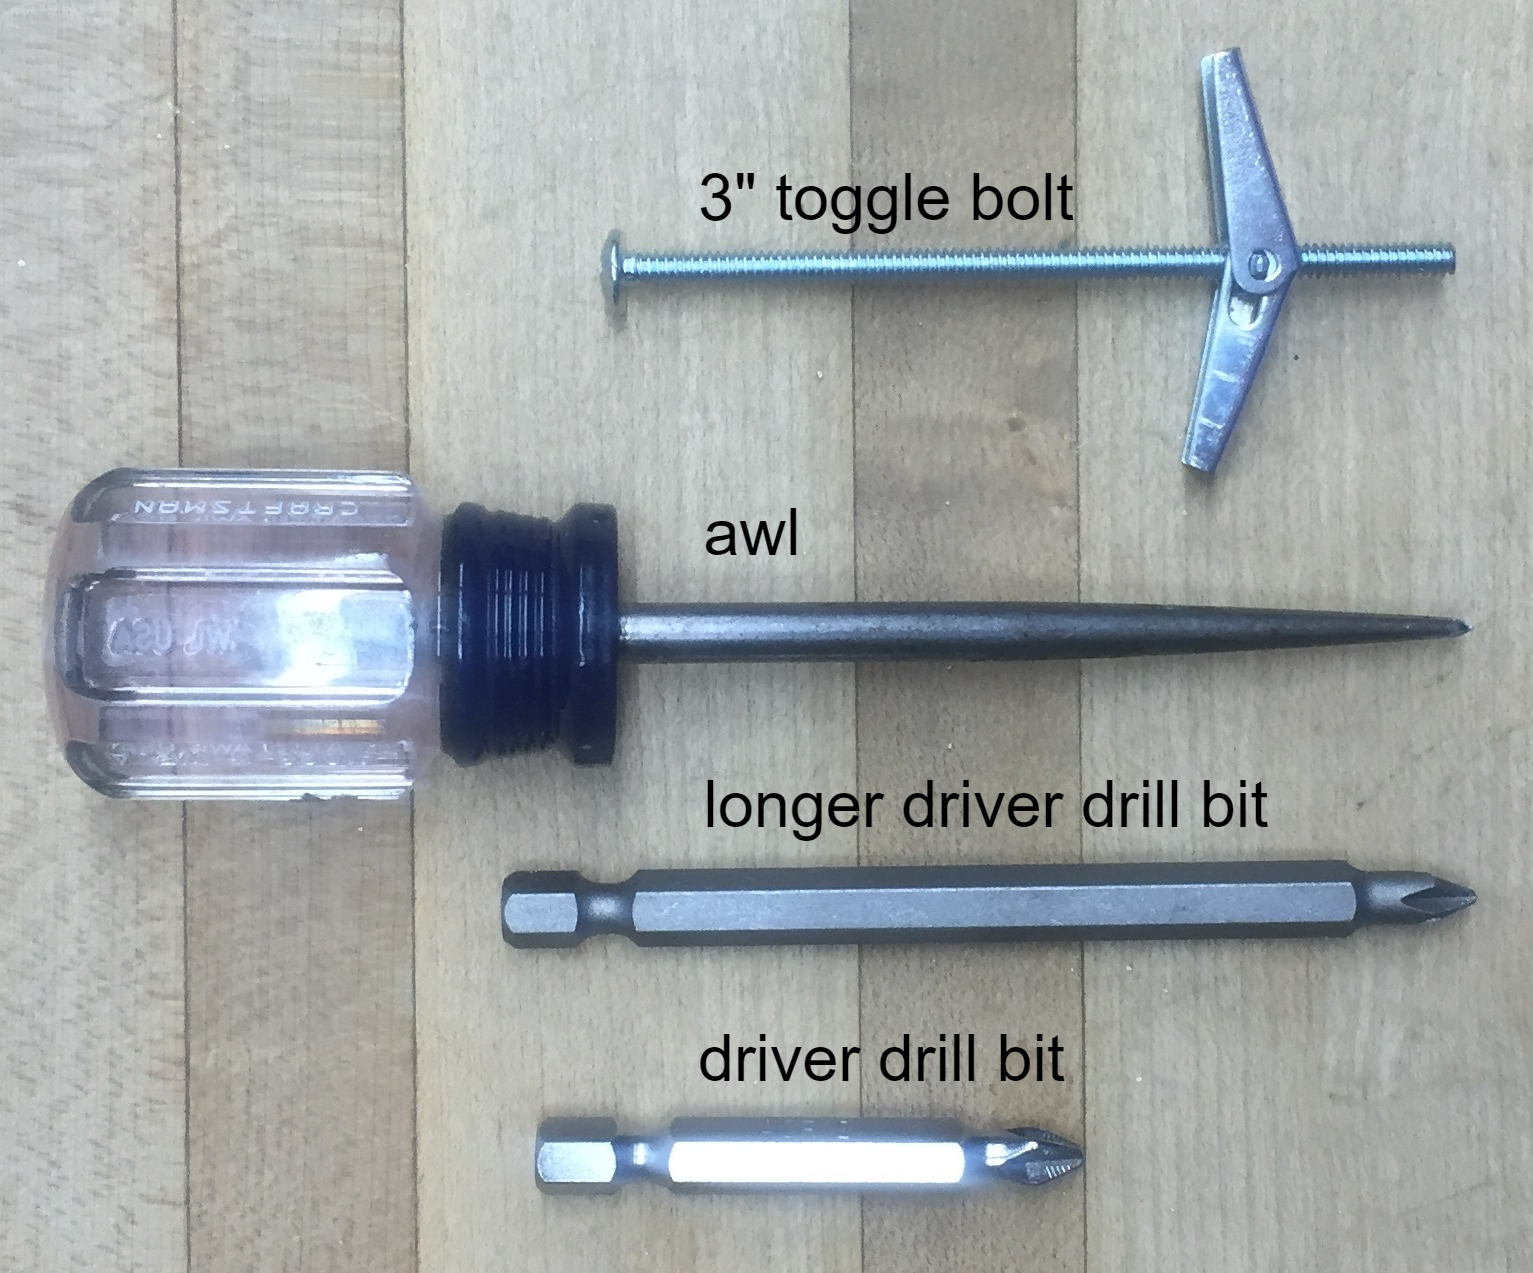
- an awl (pronounced “hey ya’ll!”) or an ice pick, otherwise known as a sharp pointy thing, for marking holes
- a longer than usual driver bit for your drill (drills come with regular shorter driver bits)
- 3/16″ x 3″ long toggle bolts (you have to get skinny ones, 3/16″ thick or similar, because thicker bolts won’t fit through the Grook holes)
Why use an awl, y’all?
Because it’s so much easier and more effective to push an awl through the holes and punch a small hole in the wall where your screws will go. See here where the awl easily goes through the holes? The screw holes in the Grook get narrow toward the back, so that pencil just barely goes through that little hole, and you can’t wiggle it around to mark the spot.

After years of installing all kinds of shelves and hooks and whatnot, trying to mark my holes with pens and pencils, I finally realized that pushing in a sharp pointy awl to mark a spot on drywall was the much more brilliant and efficient way to go.
As Eleanor Roosevelt said, “Learn from the mistakes of others. You can’t live long enough to make them all yourself.”
Did Someone Say Wine?
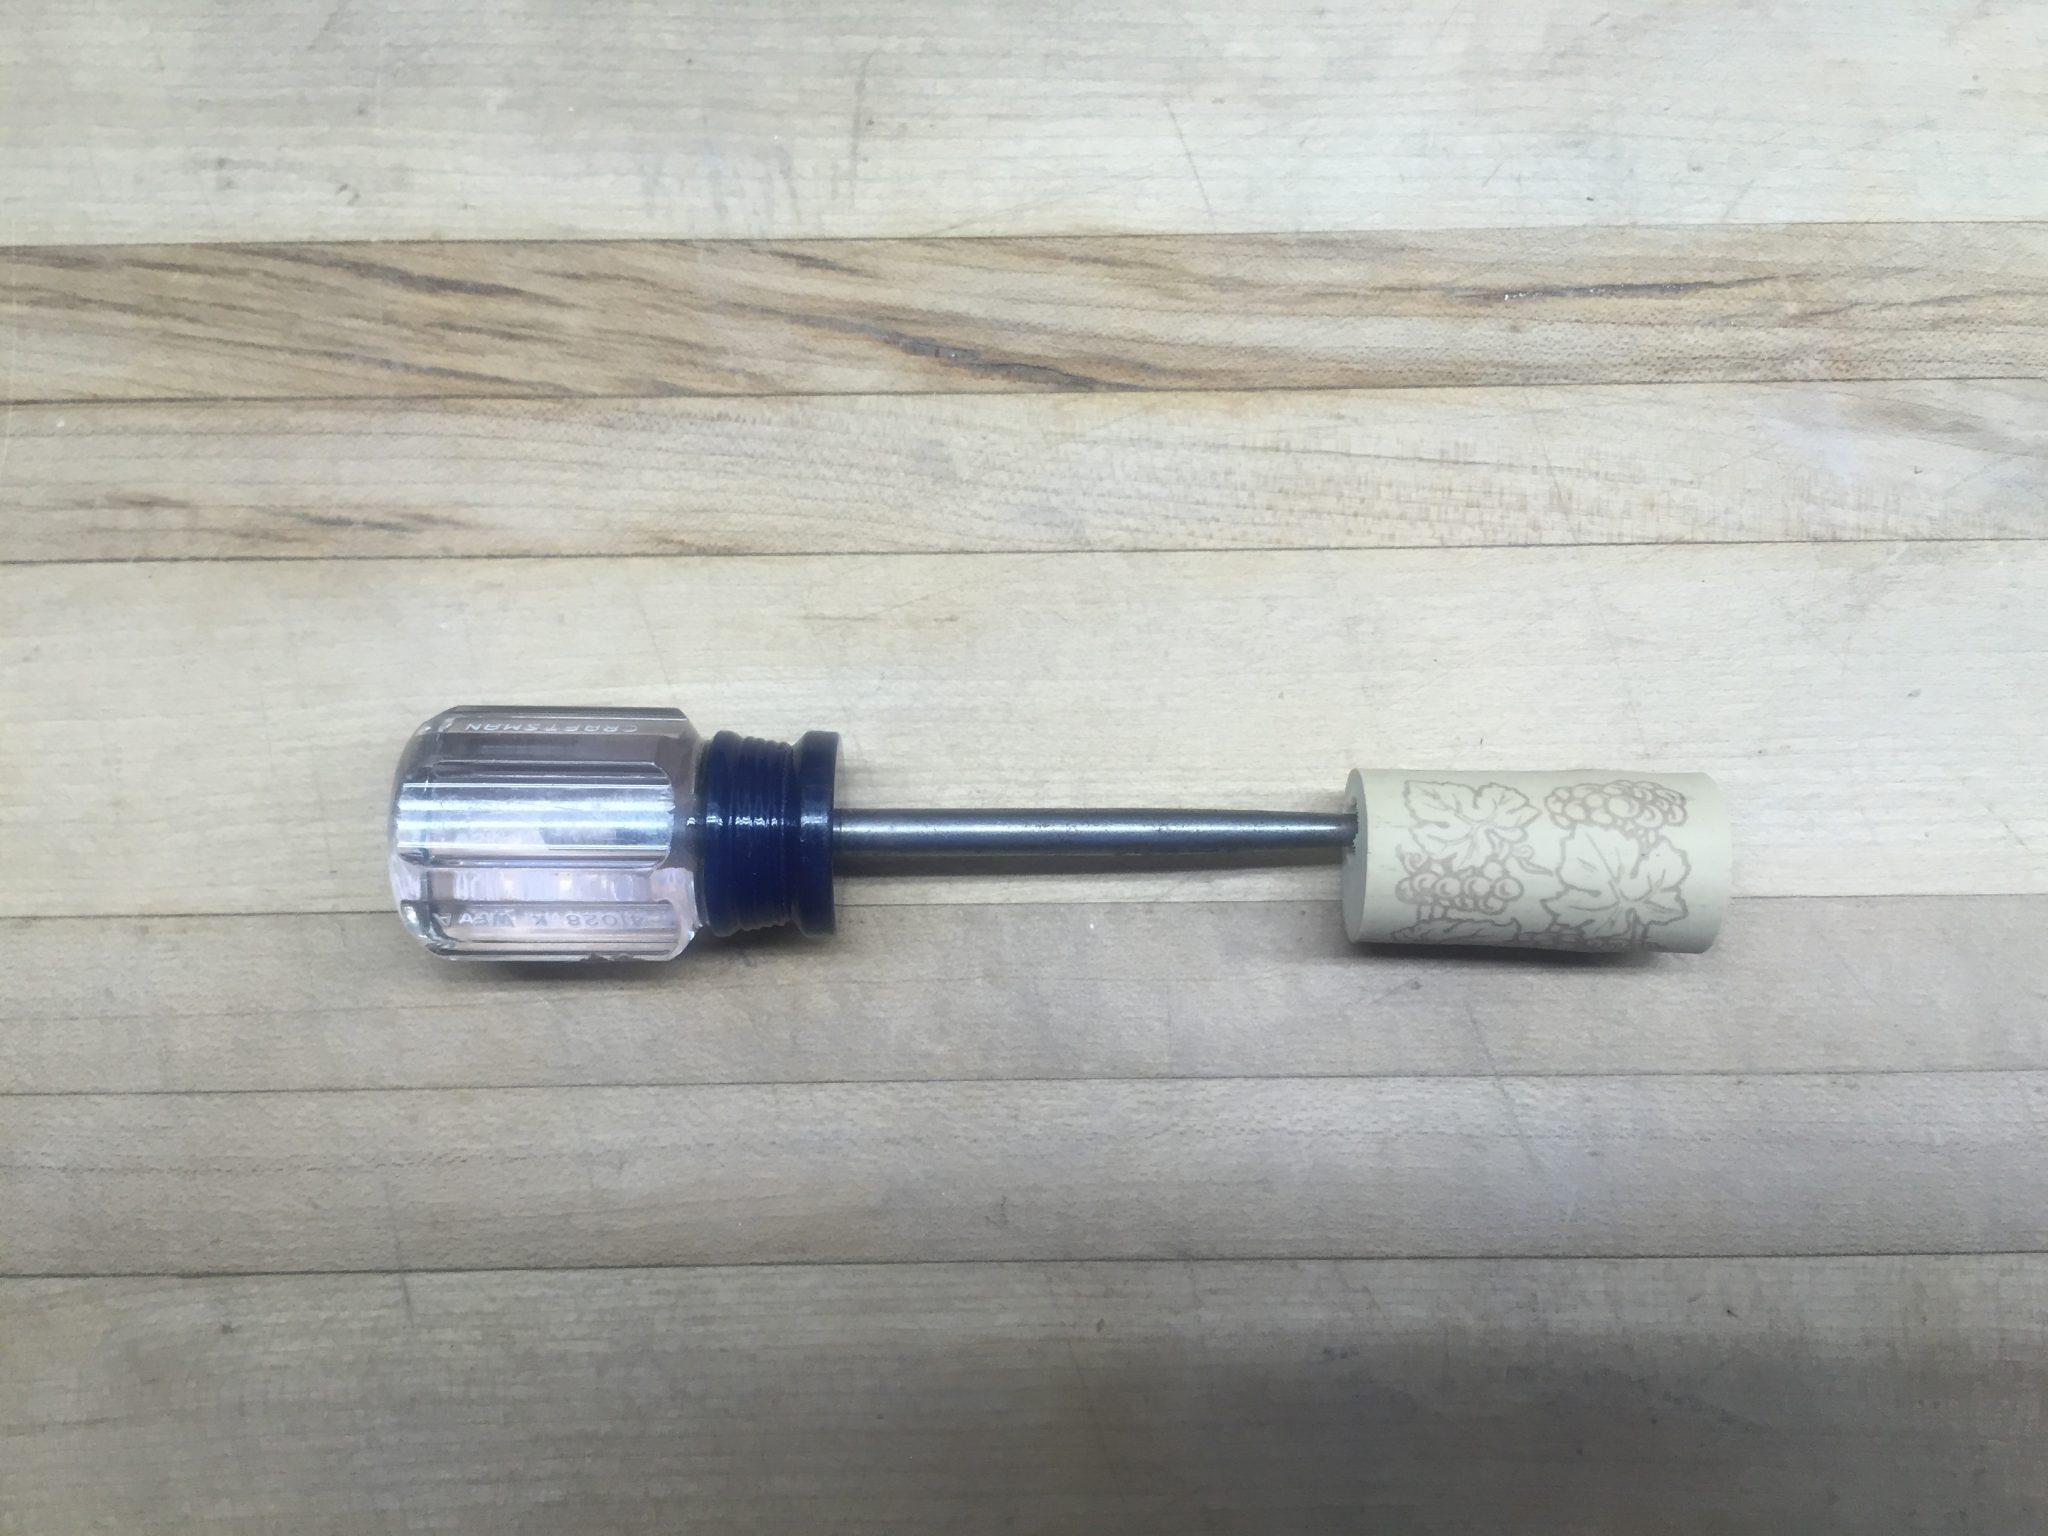
I also have a Pro Tool Tip for you. After you go out and buy an awl for your very own, or discover an ice pick in a drawer somewhere, drink some wine to celebrate (not while using power tools, though) and save the cork. Stick the end of the awl or ice pick in the cork to store it safely, so no one gets hurt from the sharp pointy end when rummaging around in your tool bag or drawer.
Why do I need a longer driver bit for the drill?
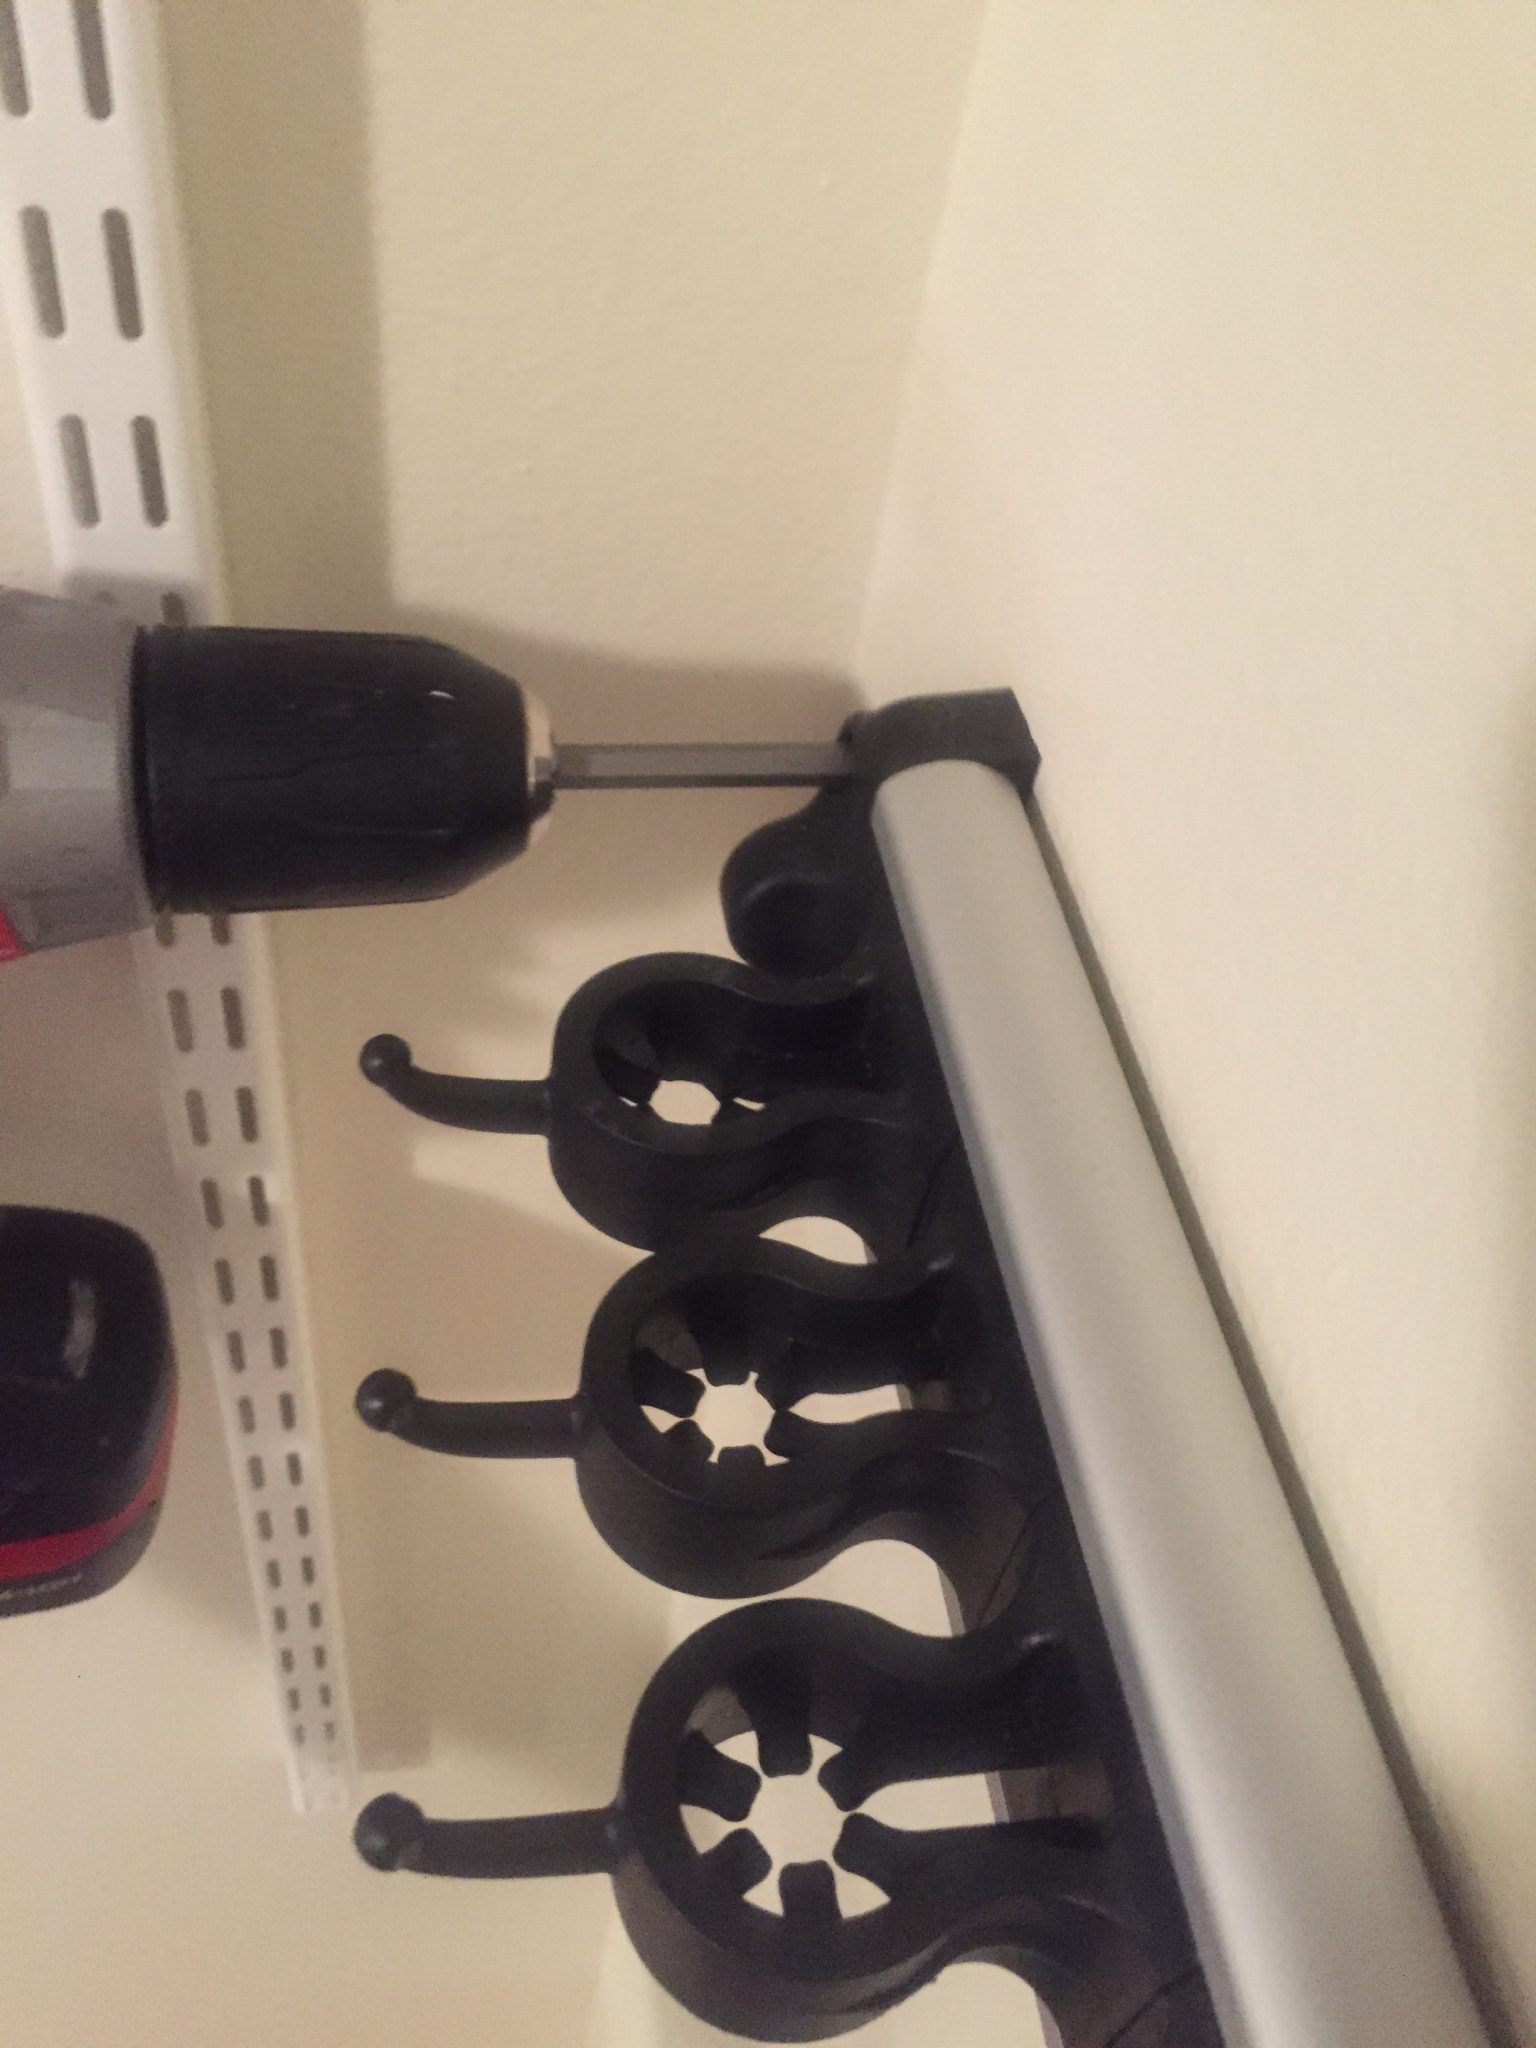
Because the way this thing is designed, there is plastic molding in the way, near the holes, that will prevent your regular-length driver bit from going all the way in. See below how the drill bumps up against the plastic molding?

Here below, you can see that the longer driver bit keeps the drill away from the plastic molding, so it isn’t obstructed while you’re tightening the toggle bolts.
You Have To Pull On The Grook While Tightening The Toggle Bolts
While tightening the toggle bolts, you will need to hold and continually pull the Grook away from the wall toward you, as you tighten each hole a little bit at a time. If you tighten one bolt all the way and go to tighten the others, the toggles on the other bolts will spin uselessly behind the drywall and never get tightened. You have to pull on them all at the same time, by pulling the Grook toward you, to get the toggle bolts to grab the drywall behind the wall. This part of the installation has to go slow, but you’ll be so happy when it’s done. So play some mellow music and go slowly, pulling on the Grook and tightening a little bit on each bolt at a time, around all four bolts. Yes, toggle bolts make it a bit of fussy work to install this thing.
Why do you love this hook/holder if it takes so much special equipment and extra work?
Yes, it’s more complicated to install than other kinds of hooks and mop/broom holders. But I think the extra effort is worth it. The Grook Utility Holder is a terrific, sturdy, multi-purpose holder that will serve you well and last forever once you install it securely in either wood studs, or into hollow drywall with toggle bolts.
Want more tool tips? Ask me about my Real Women Use Tools class!
Now I want to go buy a Grook and a longer driver bit! I think I have everything else. Thanks, Carol!
I laughed out loud at this part: “…an awl (pronounced “hey ya’ll!”) or an ice pick, otherwise known as a sharp pointy thing…” 😀
Ha, thanks Hazel! Let me know how it goes!
what size drill bit
Good question, Edward! For installing a toggle bolt, first use a 1/8″ drill bit for a pilot hole just in case there might be a stud behind the wall. (If there IS a stud there, you won’t need a toggle bolt – you can simple screw in the grook hook.) If it’s hollow drywall where you made the pilot hole, then use a 3/8″ or 1/2″ drill bit to make a big enough hole for the toggle bolt. I hope that helps!
How high do you hang your organizer from the floor?
That’s a great question, Kandace! It depends on what you will be storing on the Grook Hook, such as long things like mops and brooms, or shorter things like umbrellas, etc. You will want to measure the longest one, and add at least 6″ or more to that to keep it up off of the floor, and the result will be the height you want.