
DIY – Storing Your Clutch Purses
By A Jones For Organizing In Closet organizingWant to see a fun project that creatively solved a problem for storing small, thin clutch purses? This is the kind of DIY project that you could do over a weekend.
Sparkly Dominoes!
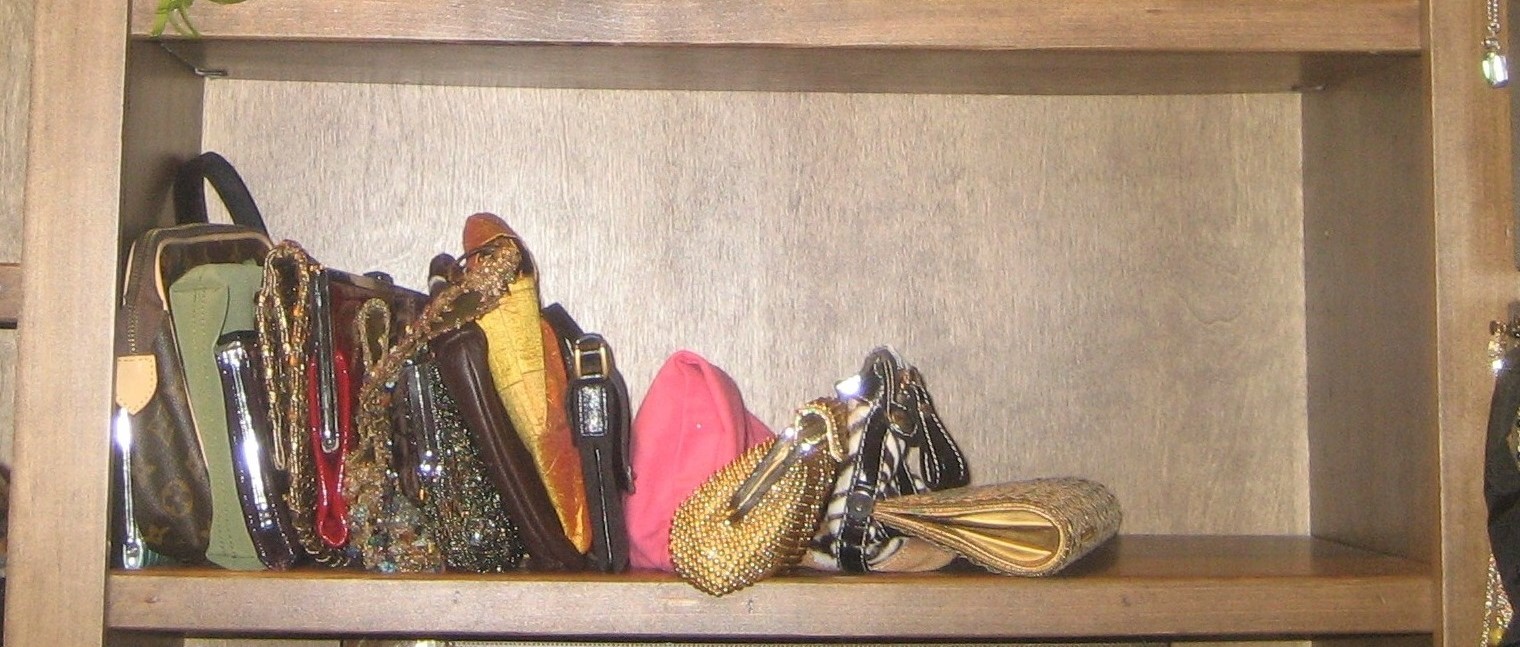
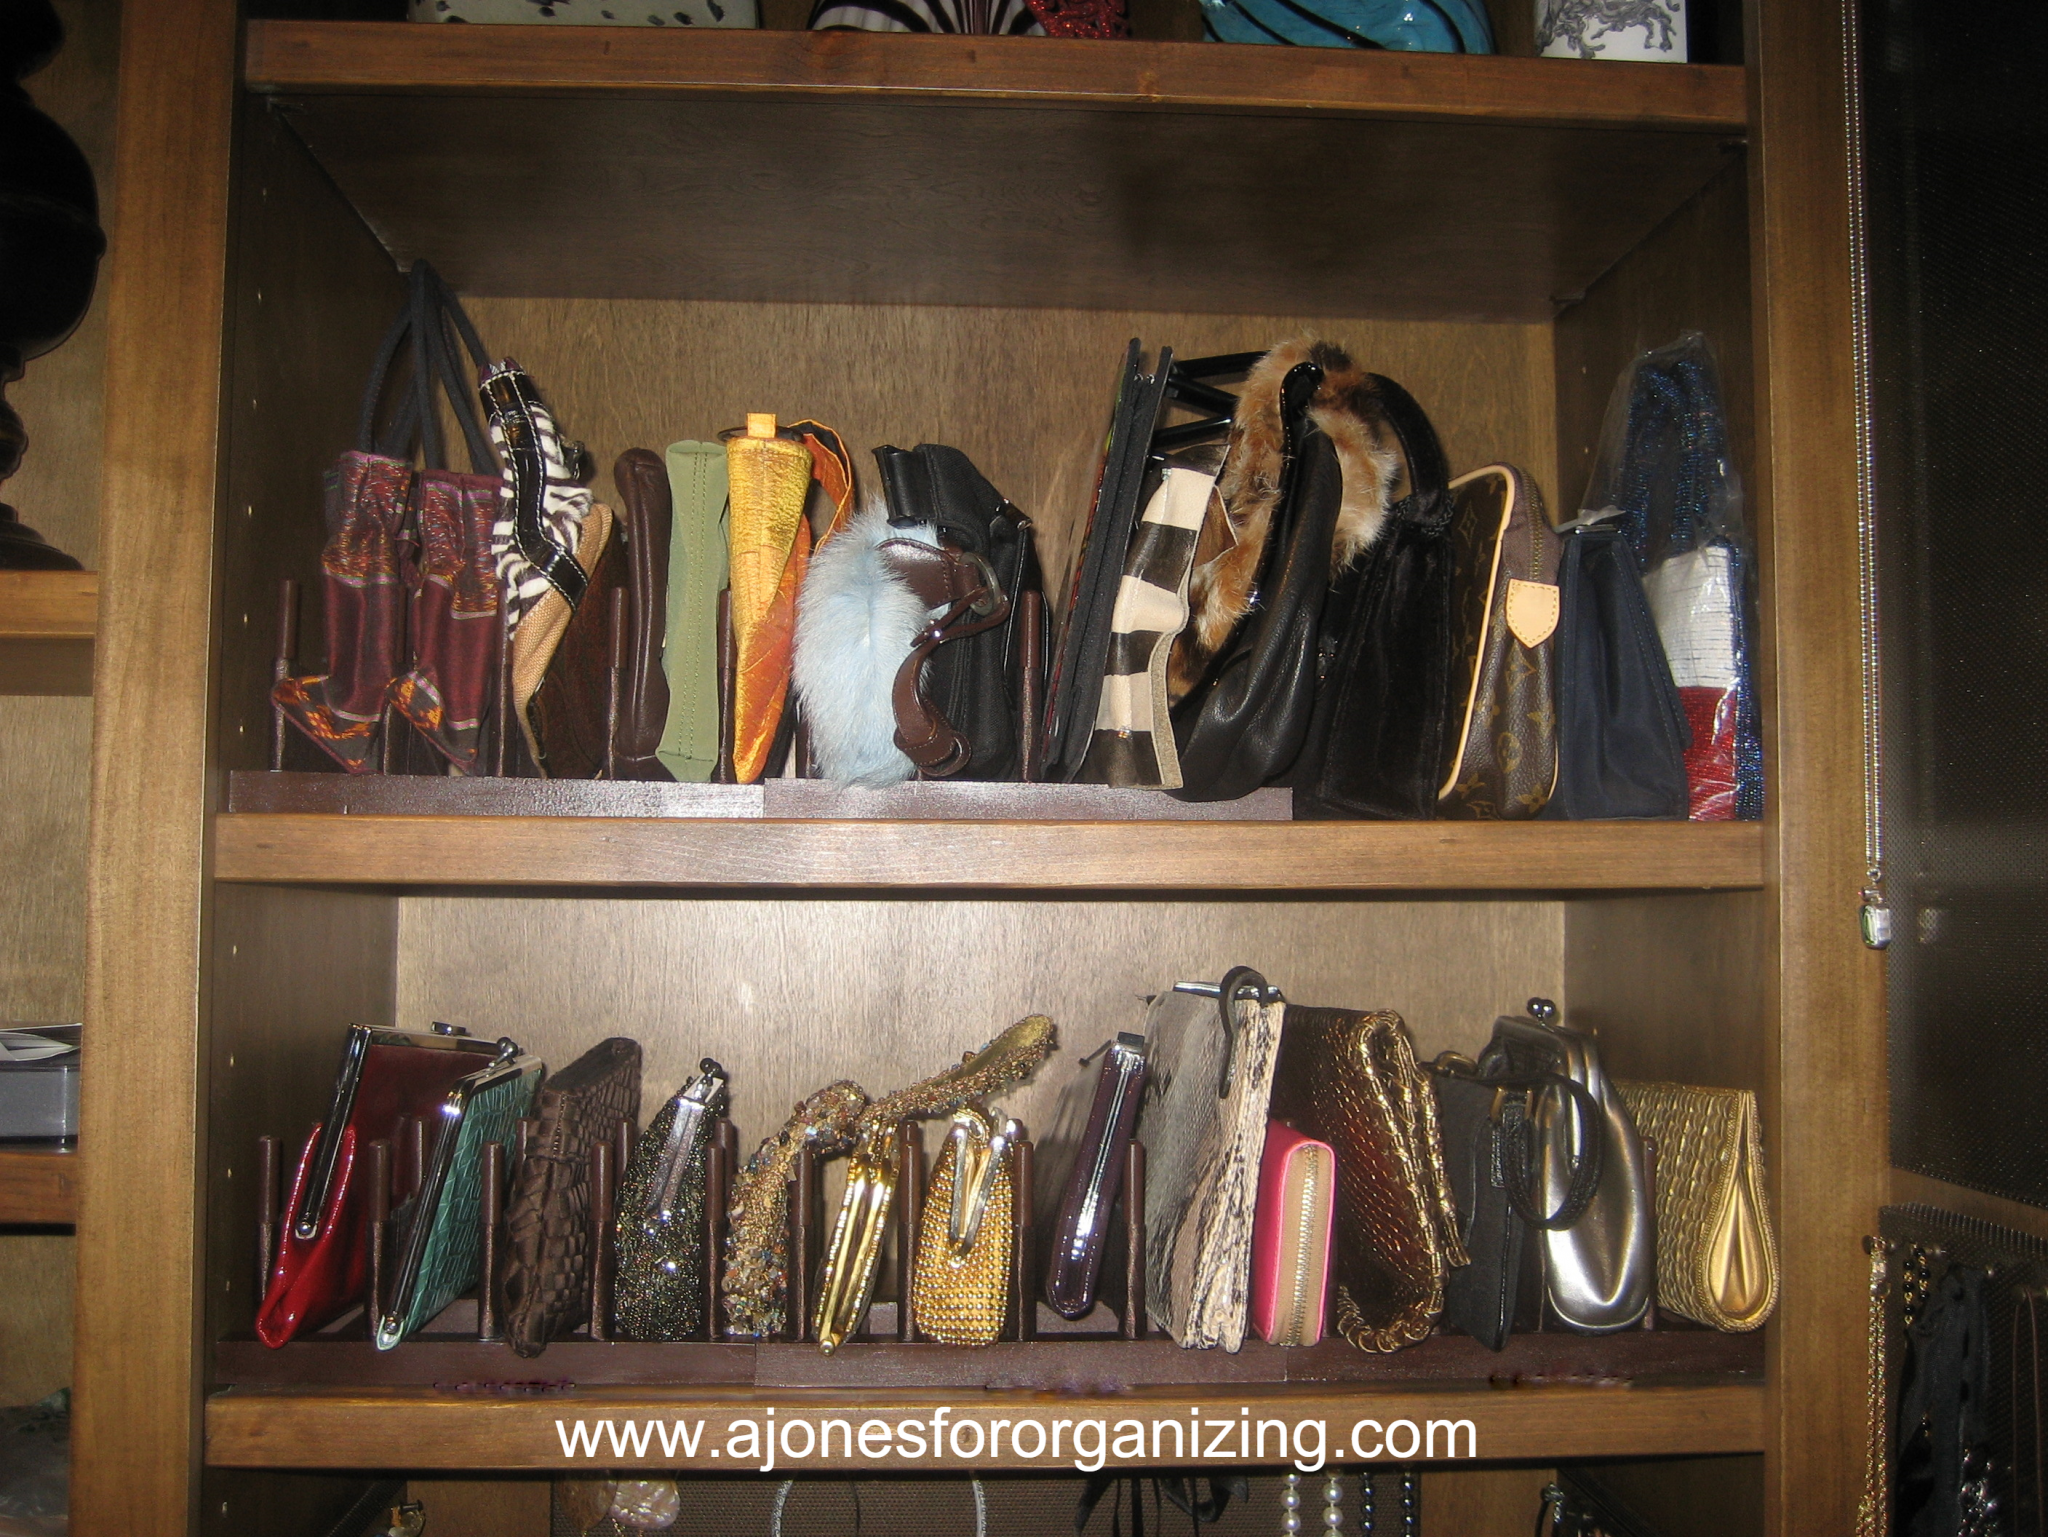
This client had a lovely collection of small beaded and sequined clutch purses and evening bags, shown below. The problem was that they were all slumped together on the shelves. I knew that when one got pulled out, the rest would fall like a bunch of sparkly dominoes.

Rule #1 Of Belongings
When it’s too difficult to access your belongings, they won’t get used. They will sit there huddled on the shelf, forgotten and forlorn. I wanted her to be able to see all of her purses, and easily access the one she wanted to use.
She needed a better storage system. The best way to store things that are thin (like clutch purses or cookie sheets or folders), is to store them upright and separated from each other. That way, you can pull an individual item out, without disturbing the others.
Spoiler: Painted Wooden Dowels With Twists And Turns On The Way
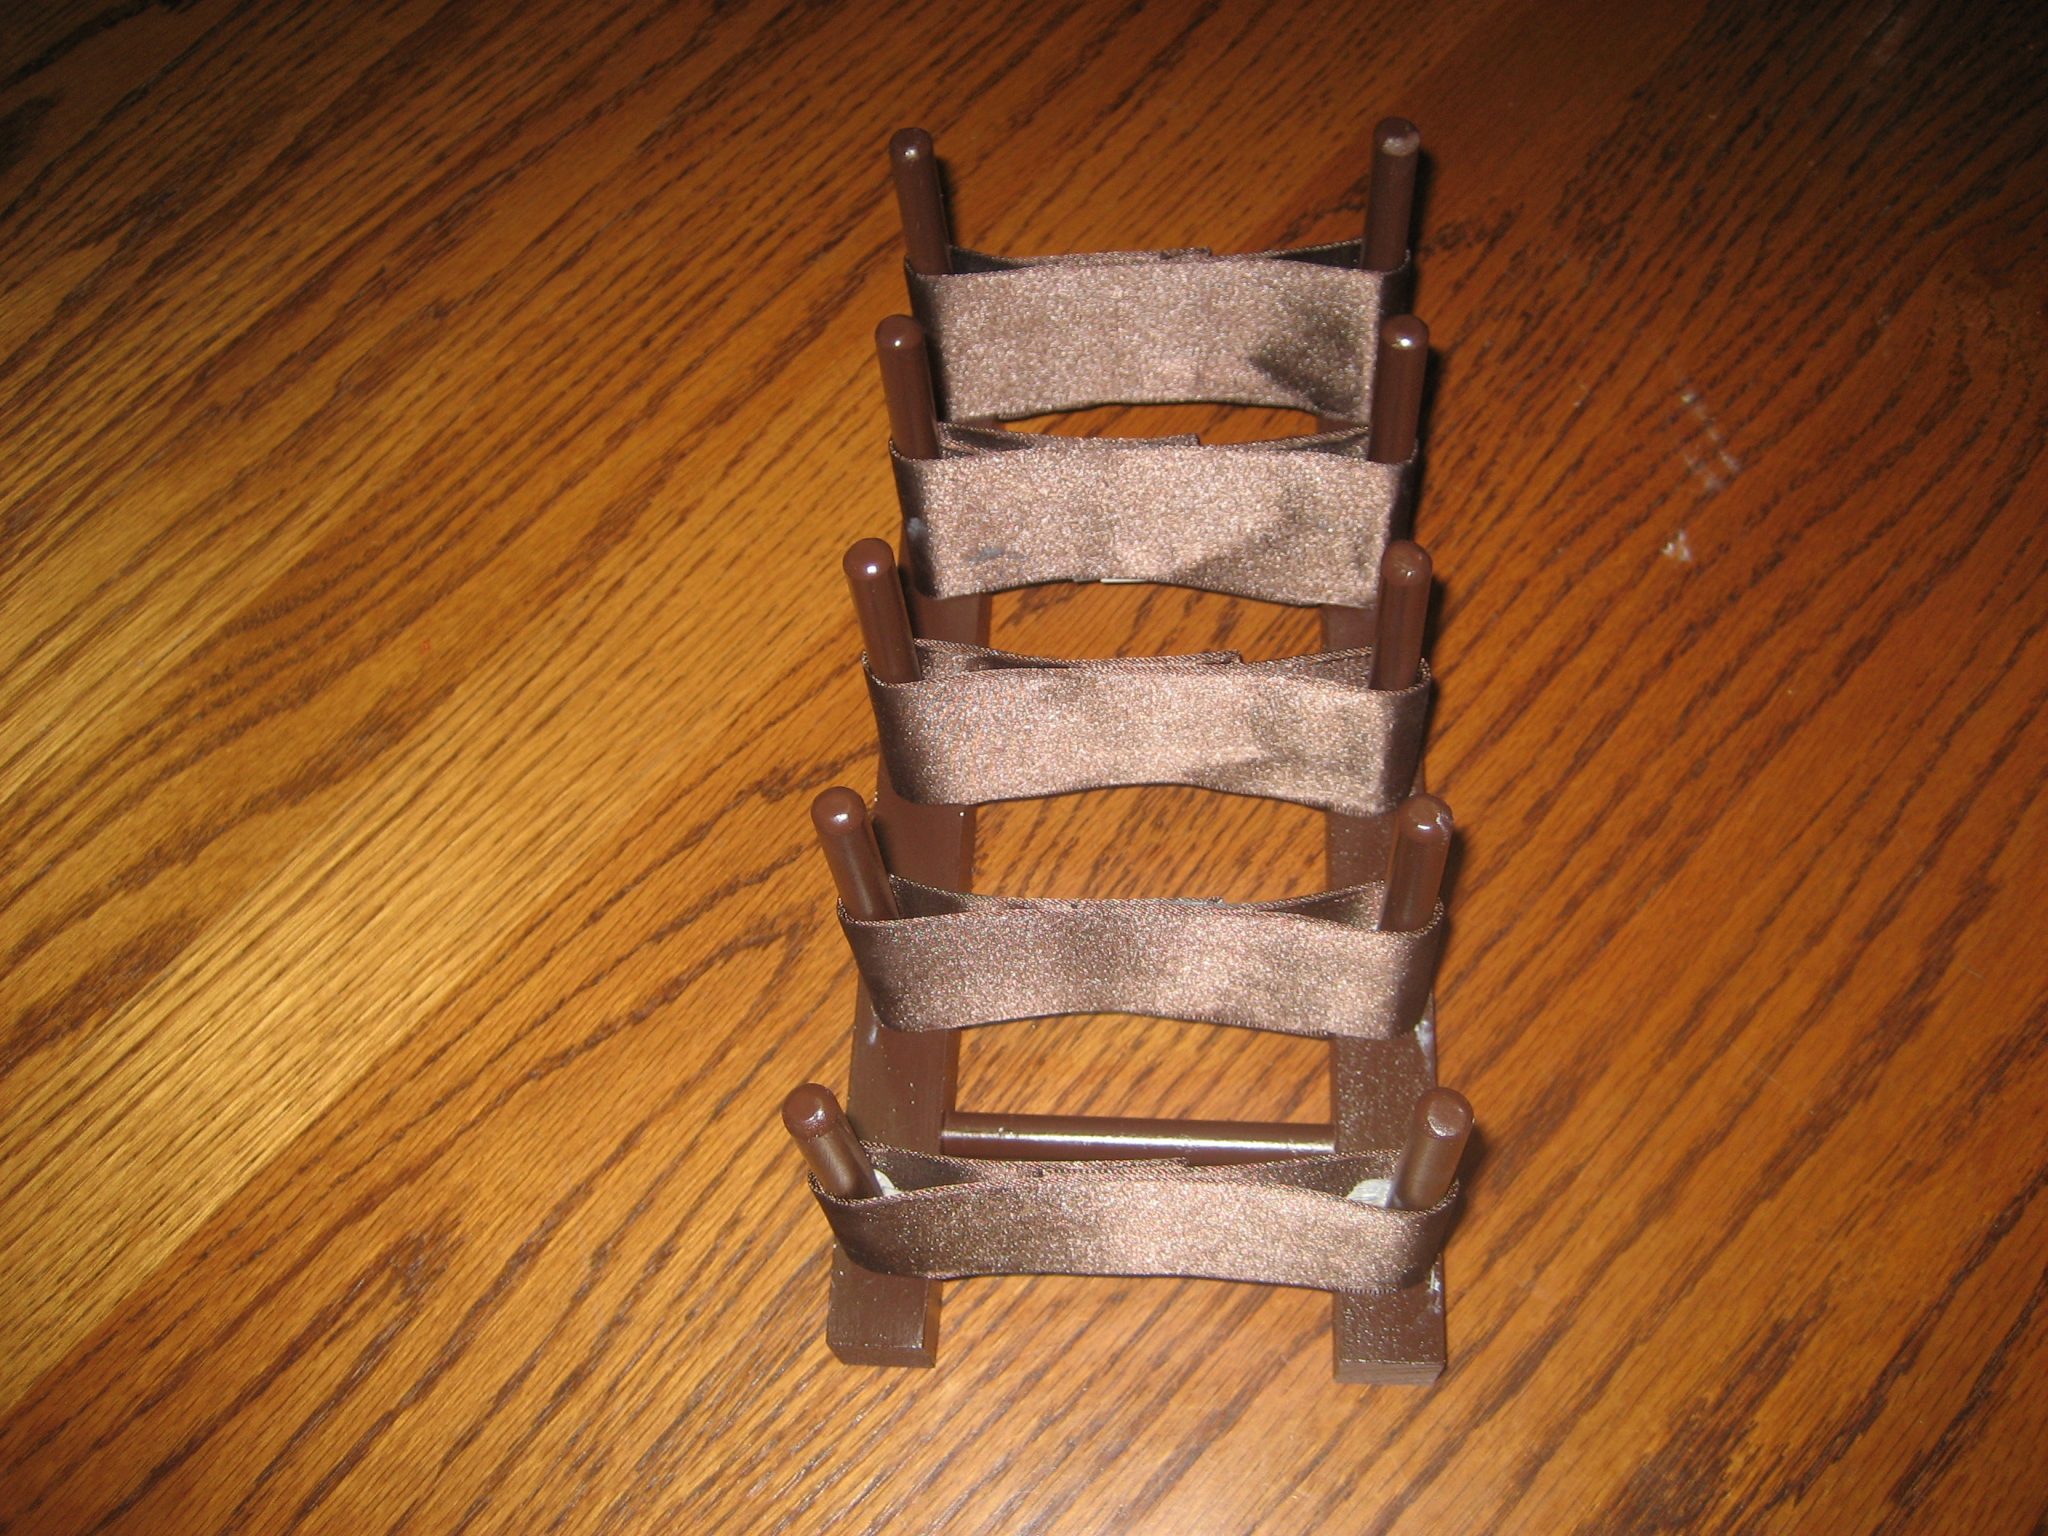
To skip to the exciting conclusion of the story, I used wooden dowel racks to store the purses separately and vertically. I painted the dowels and glued ribbon on each row (more detailed instructions below) to allow the purses to slide in and out smoothly. You can see the Before and After here below.
Before
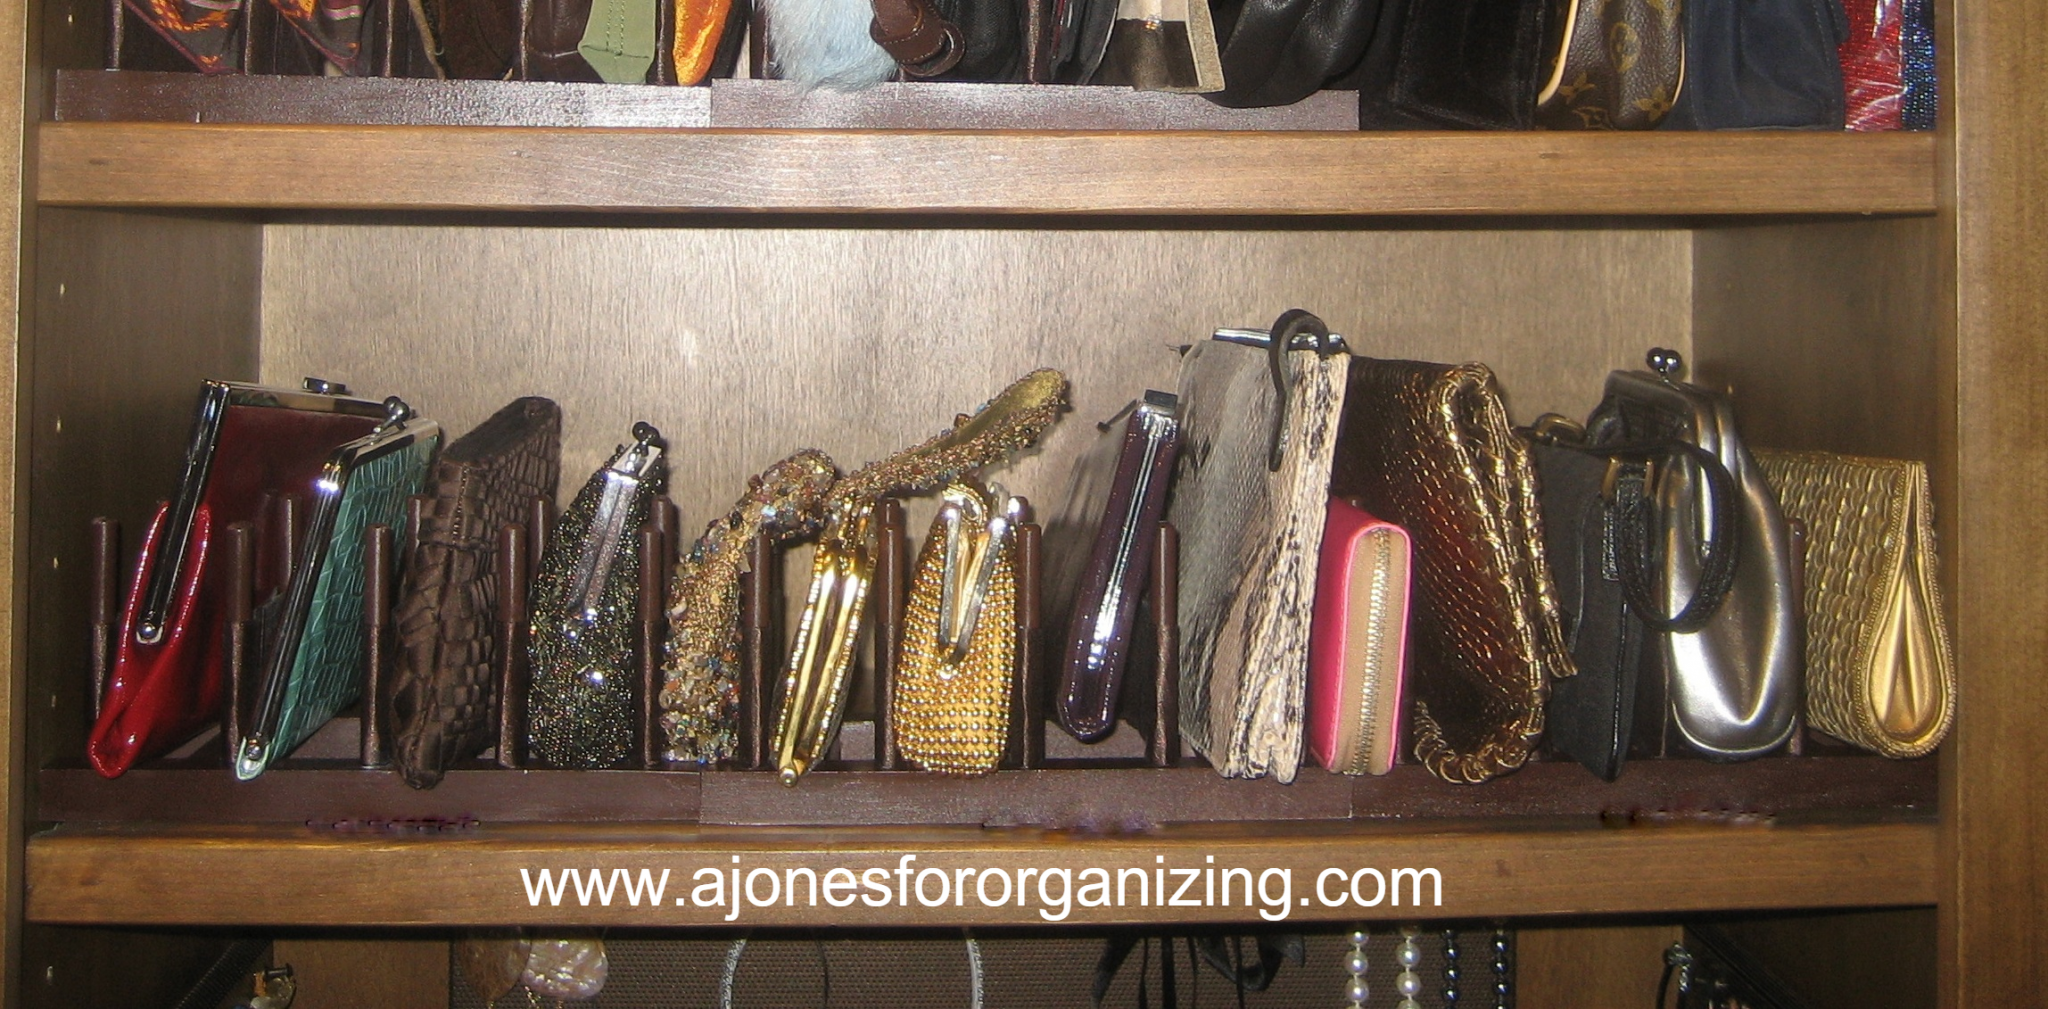
After
Want to see the step-by-step instructions on how I made these purse racks? See below.
I love to solve storage problems like this. I used the same kind of vertical storage strategy here that I do for kitchen items with 4-Sorts, that you can read about here, Storing Cookie Sheets, Baking Pans, and Serving Trays
However, those 4-Sort dividers are made of white wire. Functional, but not glamorous enough. These gorgeous clutch purses were in a very pretty closet, so I wanted an elegant solution to go with the surroundings.
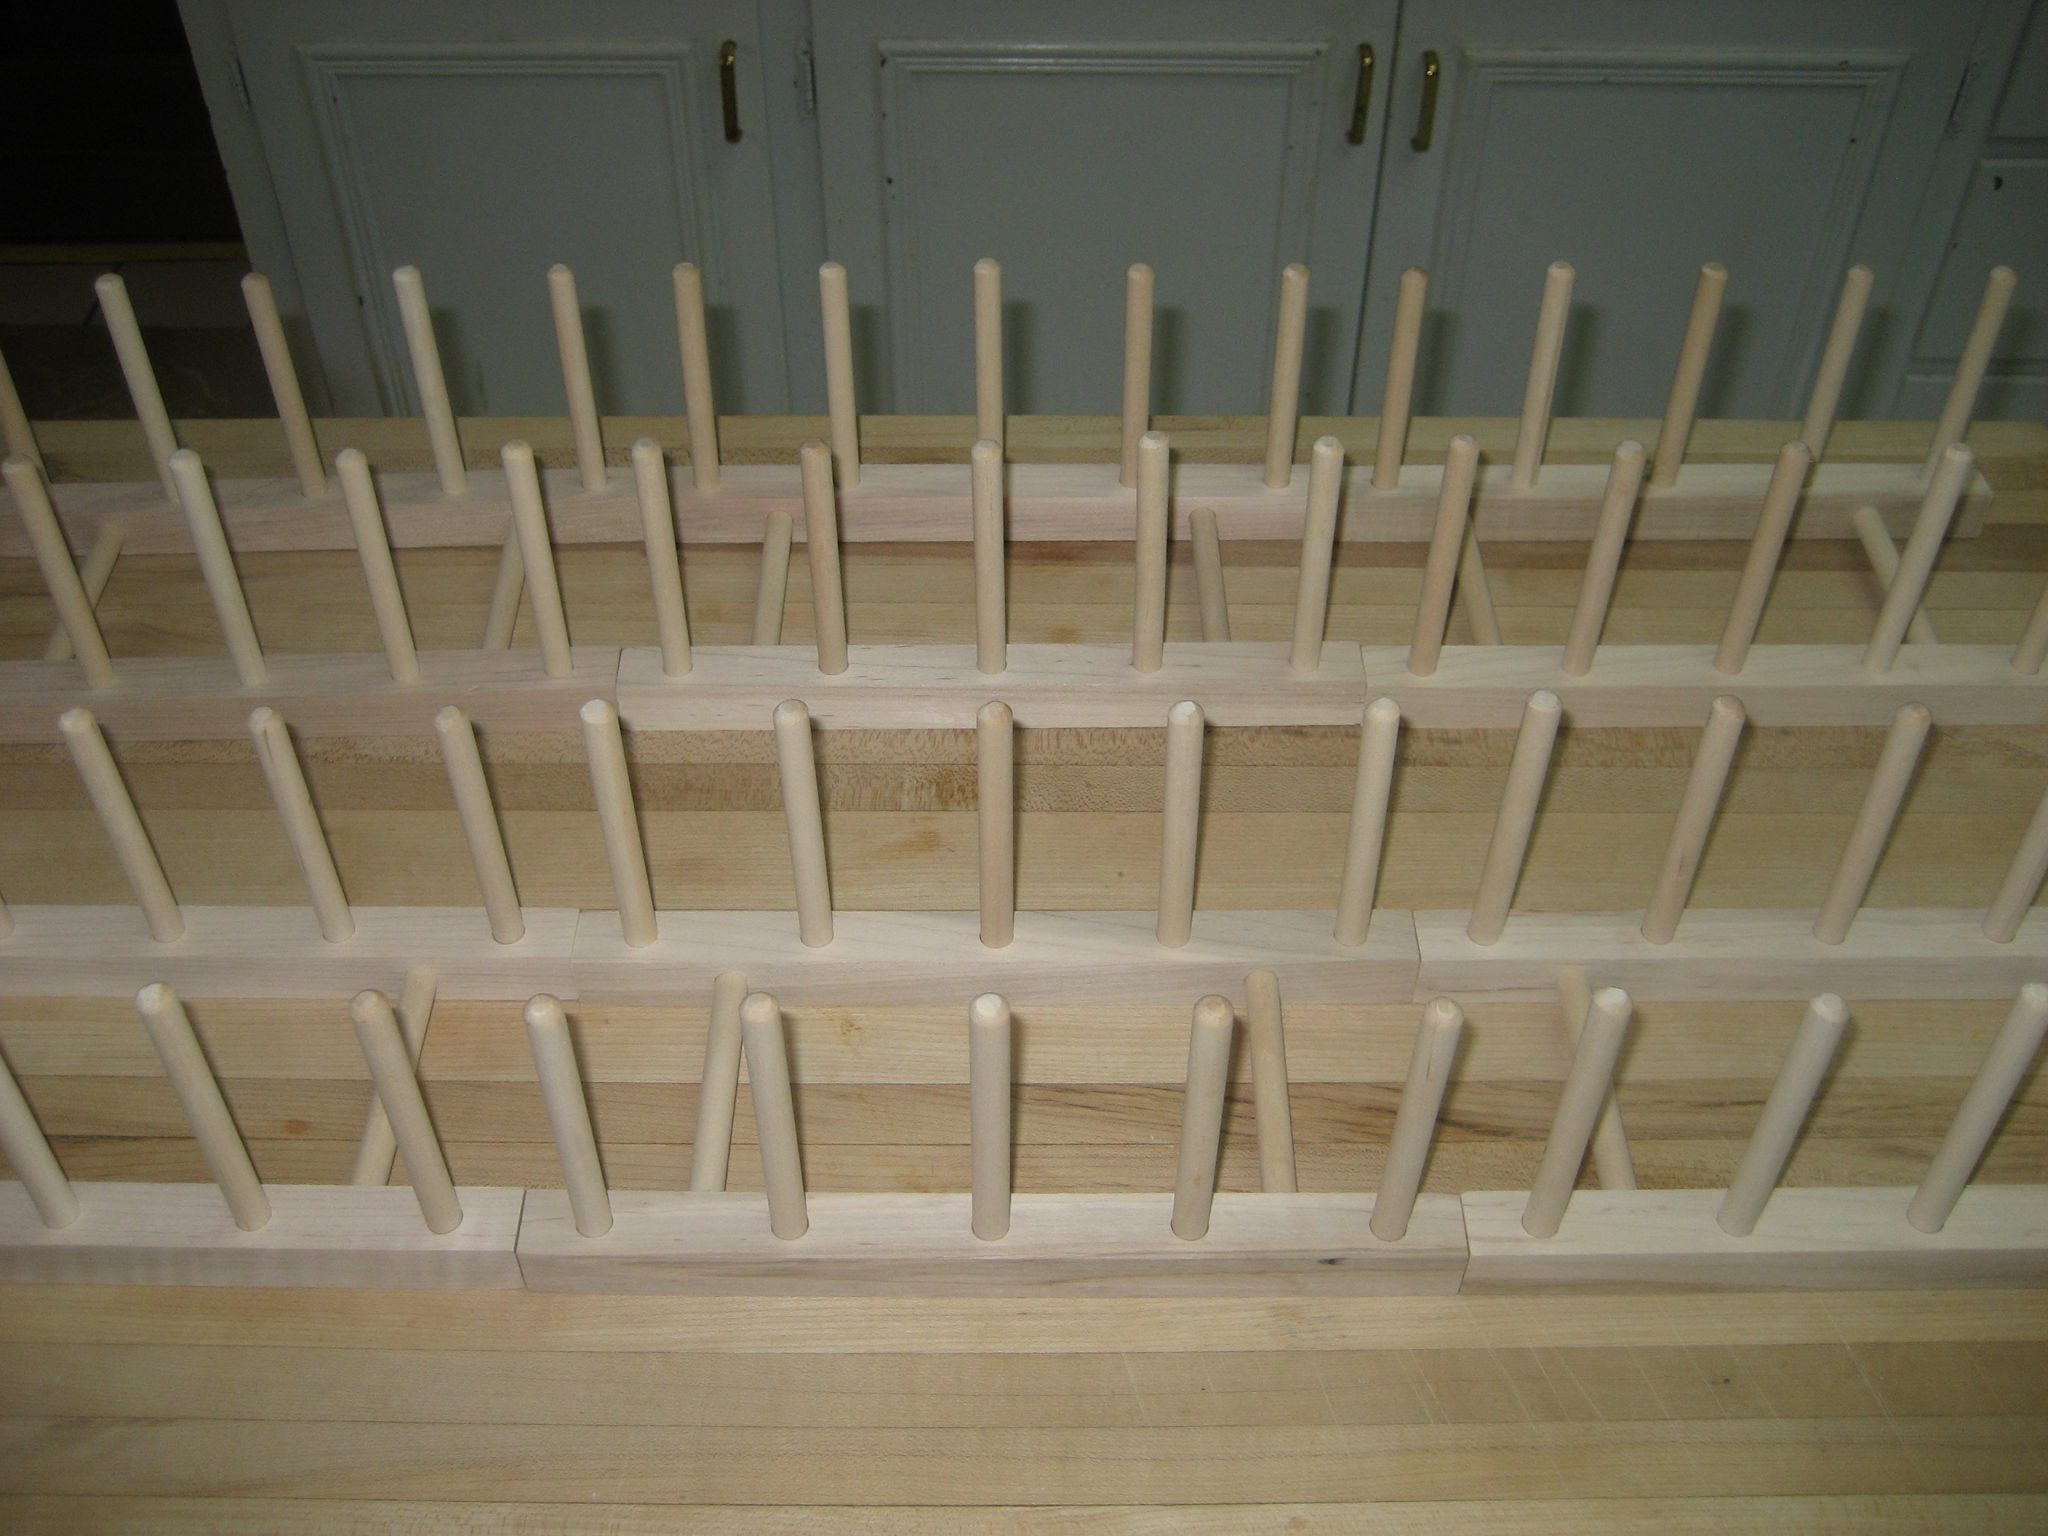
These wooden dowel racks from the Container Store (edit: these are no longer available at the Container Store, but you can find wood dowel racks online), shown below, were perfect. They are usually used for plates and pot lids. Three of them across were going to fit just right in the closet built-ins. It makes my little space designer heart sing when unrelated things fit together perfectly!
Not Pretty Enough
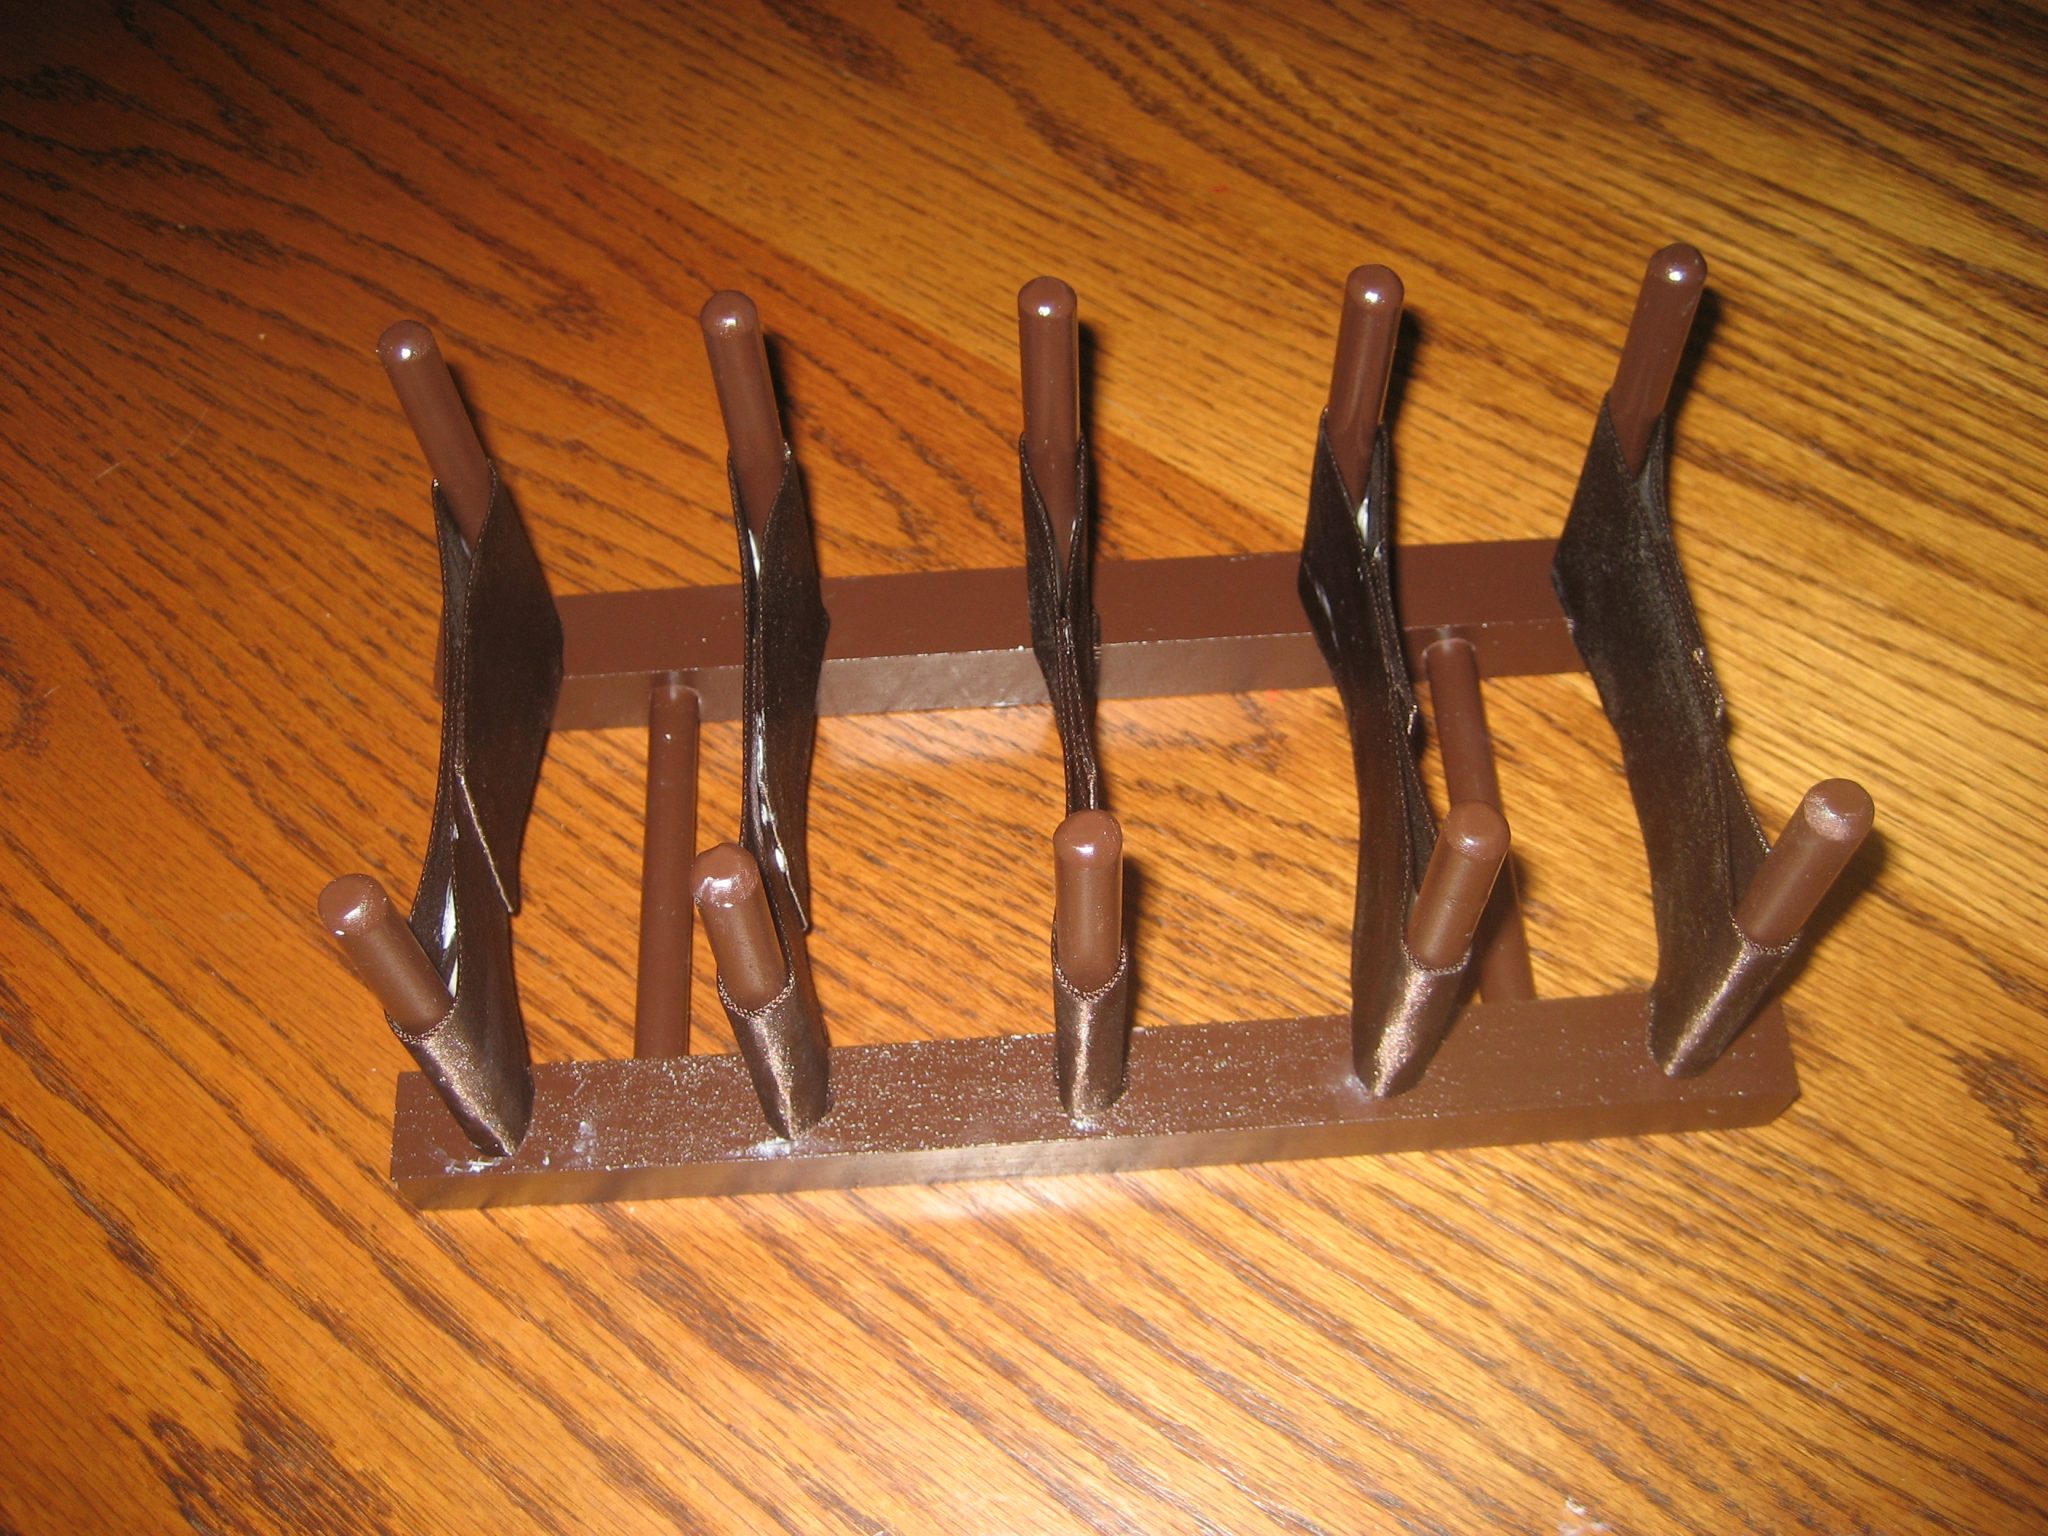
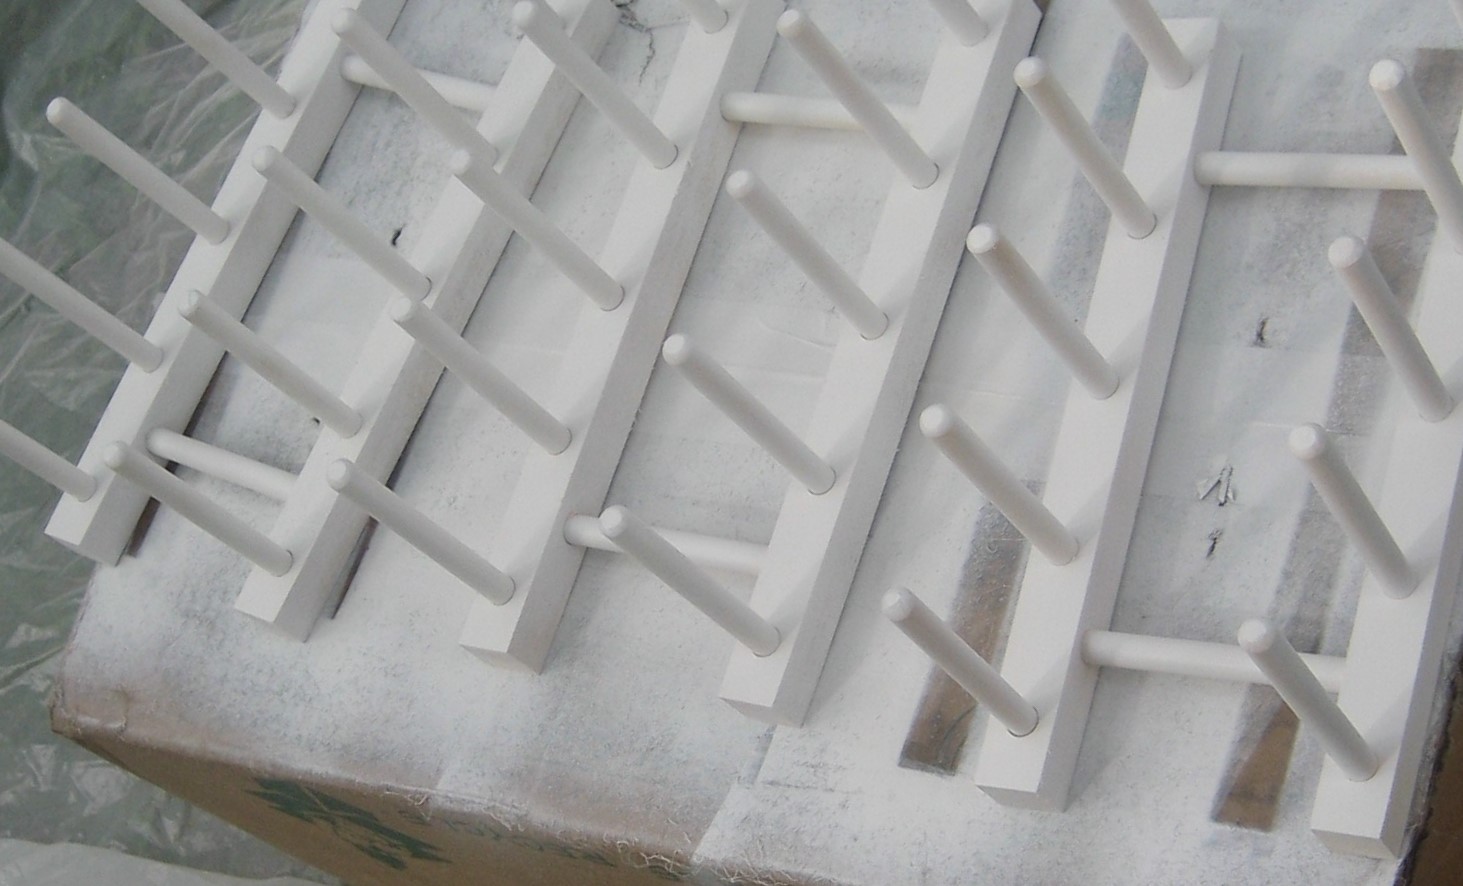
Now, these dowel racks are unfinished wood and are kind of plain. I wanted them to look sophisticated and customized for that closet. Spray paint was the easiest and least fussy way to paint these.
Always Use Primer Before Painting Unfinished Wood
Since the wood on these dowels is unfinished, regular paint will soak right in, instead of staying nice and glossy on the surface. I could have bought paint with primer added, but I wanted to do it the thorough way, and not have to worry about having to do it over. So I used white spray primer before painting. Priming is an extra, time-consuming step. But for the look I was going for, it was totally worth it.
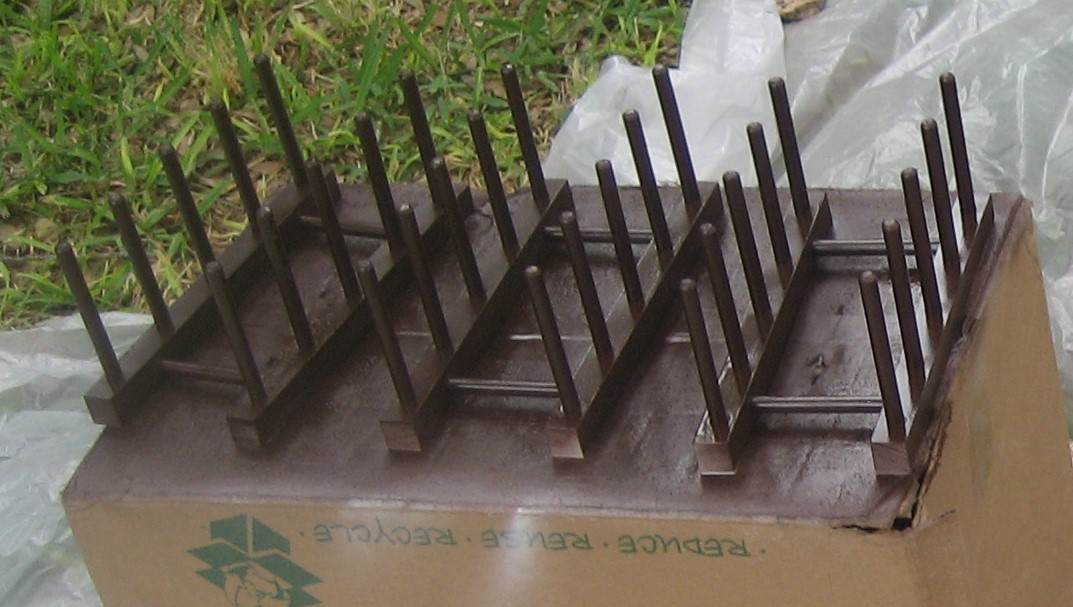
Then, after the white primer had dried, I spray painted them with dark brown paint to blend in with the dark wood cabinets in the closet. In a different closet, it would be fun to paint them a bright color. But in this particular closet, I wanted the infrastructure (the dowel racks) to blend into the background. That way, the sparkly purses would be the eye-catching element.
Would those sparkly sequined and beaded purses scratch the paint off of those dowels? Yes, they would, as sure as if they were being paid to do so.
Uh-Oh, Potential Usability Problem Ahead
I wasn’t done yet. I like to think ahead before using an organizing product, and visualize potential Usability Problems. What would happen when the purses were slid in and out? Would those sparkly sequined and beaded purses scratch the paint off of those dowels? Yes, they would, as sure as if they were being paid to do so. Were they also going to go sideways sometimes, and get tangled up in the dowels? Yes, they would, no matter how much I didn’t want them to.
Momentarily Possessed By Martha Stewart
So, I realized that I needed something to create a barrier between the rows, to prevent those two potential problems. I thought about this a lot. Then, I had a creative Martha Stewart-like idea. If I wrapped each dowel row with wide pieces of ribbon, that would:
(a) keep the purses individually separated, AND
(b) protect the purses from scratching the painted dowels, AND, AND
(c) look very pretty
But ribbon, of course, was going to be too floppy by itself. It wouldn’t stand up and stay in place easily enough without some firm persuasion. (I tested this, for Science.) If I tried to simply glue the ribbon directly to the wood dowels, the glue would soak through the ribbon fabric.
Ribbon wouldn’t stand up by itself without some firm persuasion. (I tested this, for Science.)
Posterboard to the rescue!
Posterboard is thin, bendable, and sturdy. It perfectly solved two problems at once: it made the ribbon stand up straight, and it kept the glue from soaking through the fabric.
So I cut the thin posterboard into strips a bit narrower than the wide ribbon.
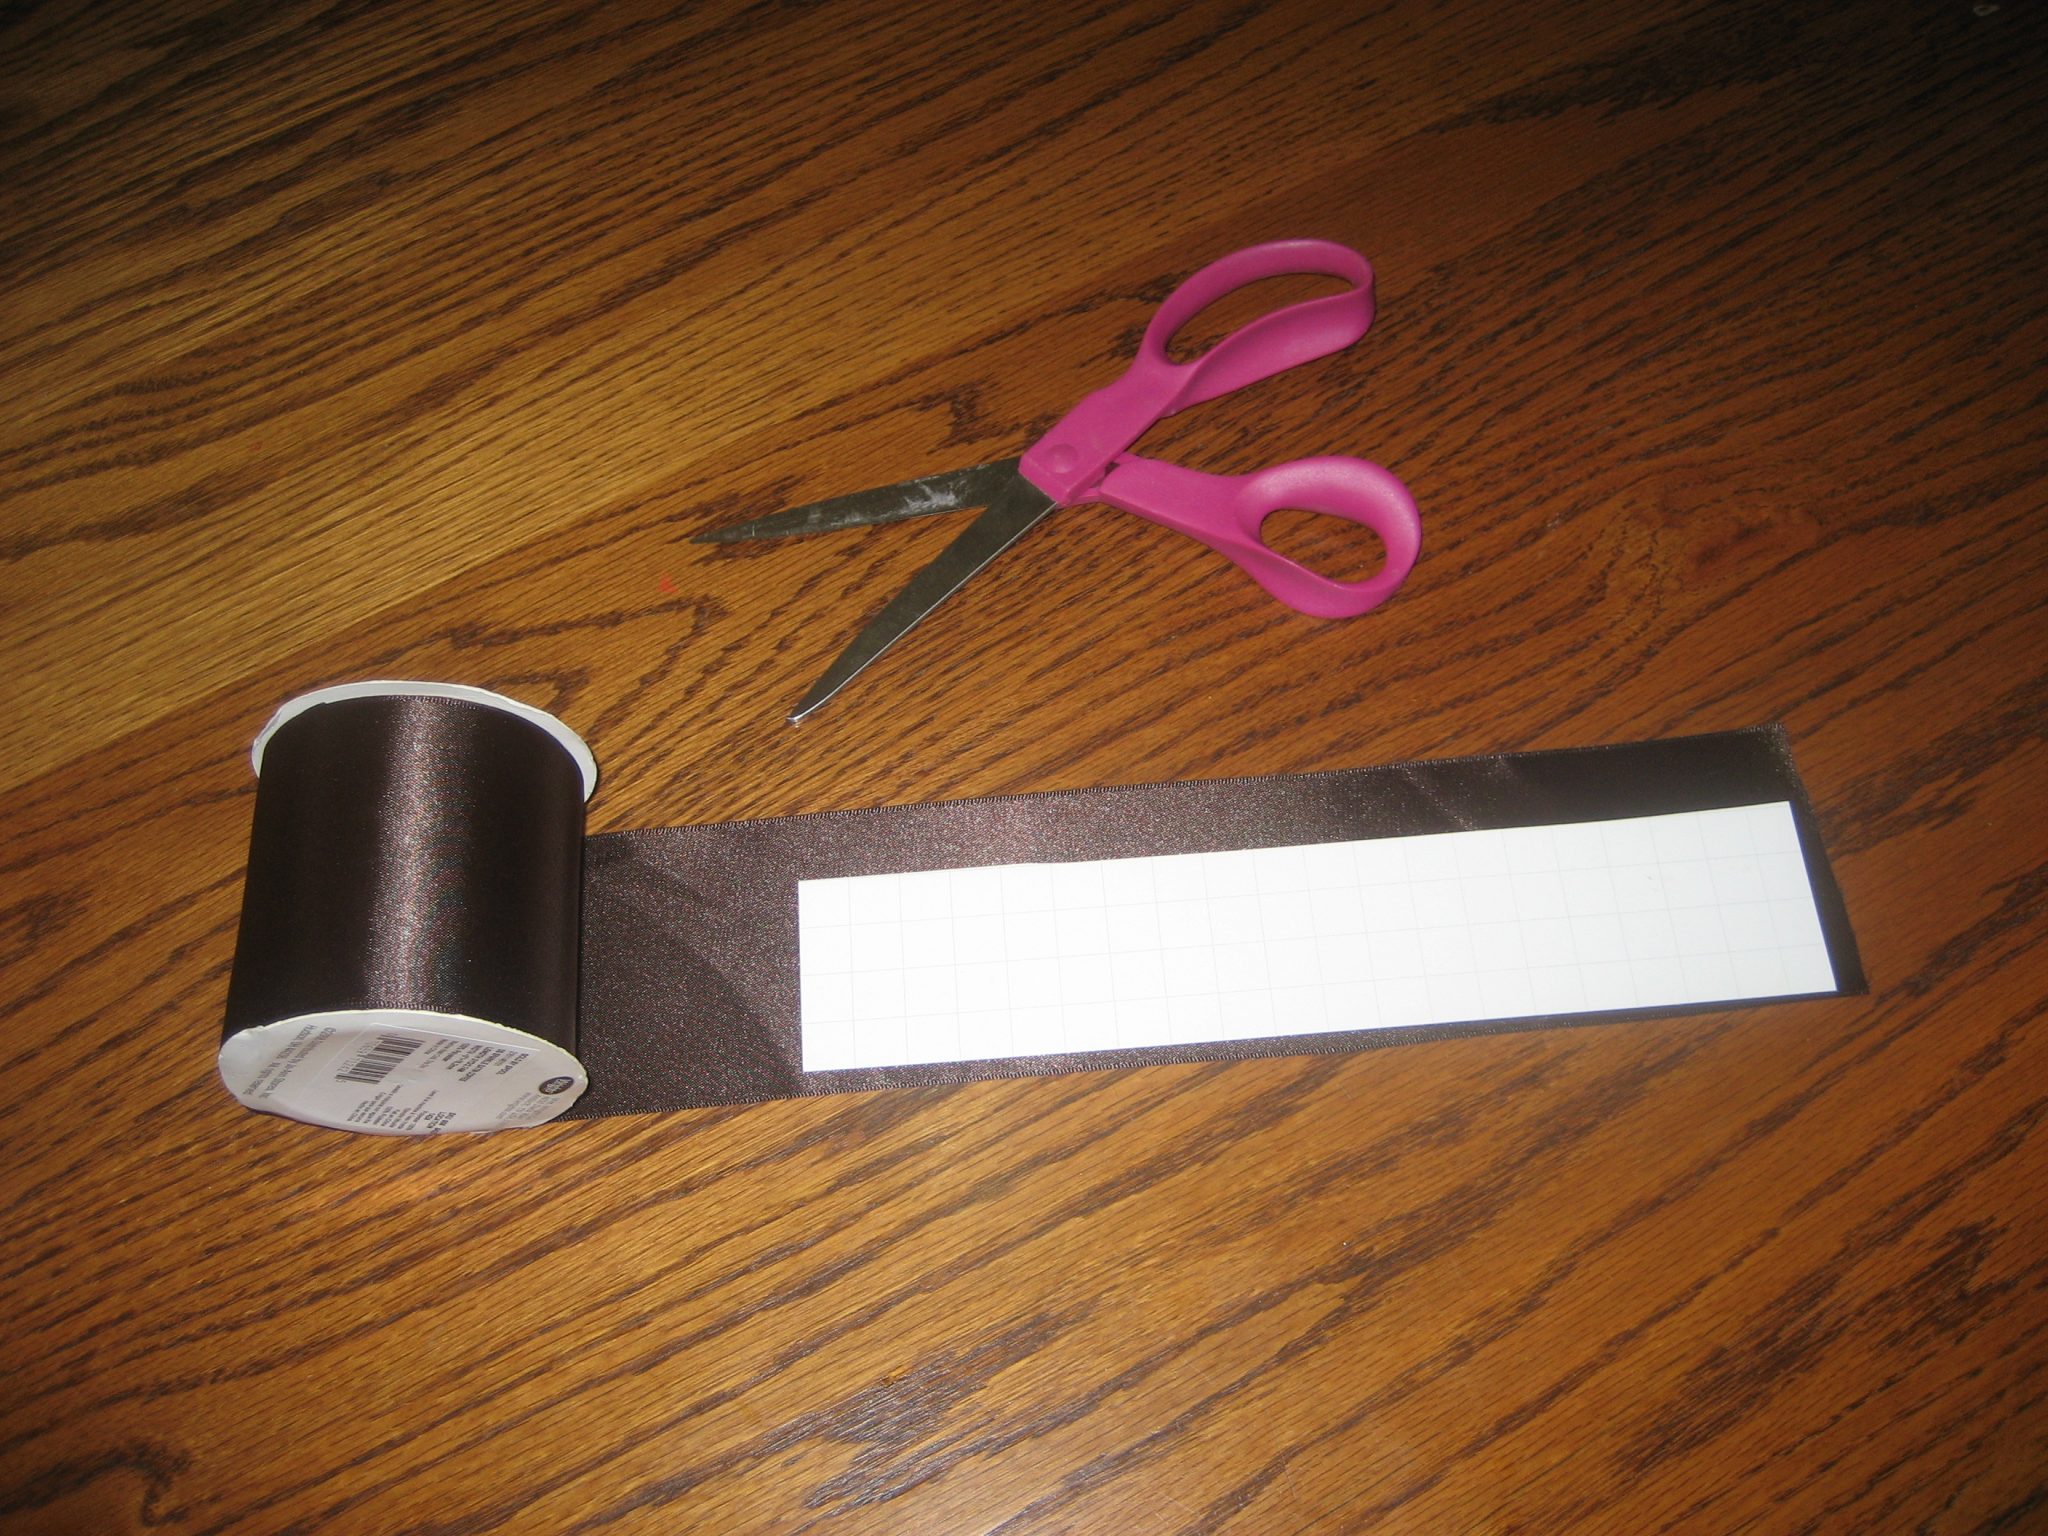
Then, I cut the ribbon into strips and laid them out so that I could spray them with adhesive to attach the posterboard strips.
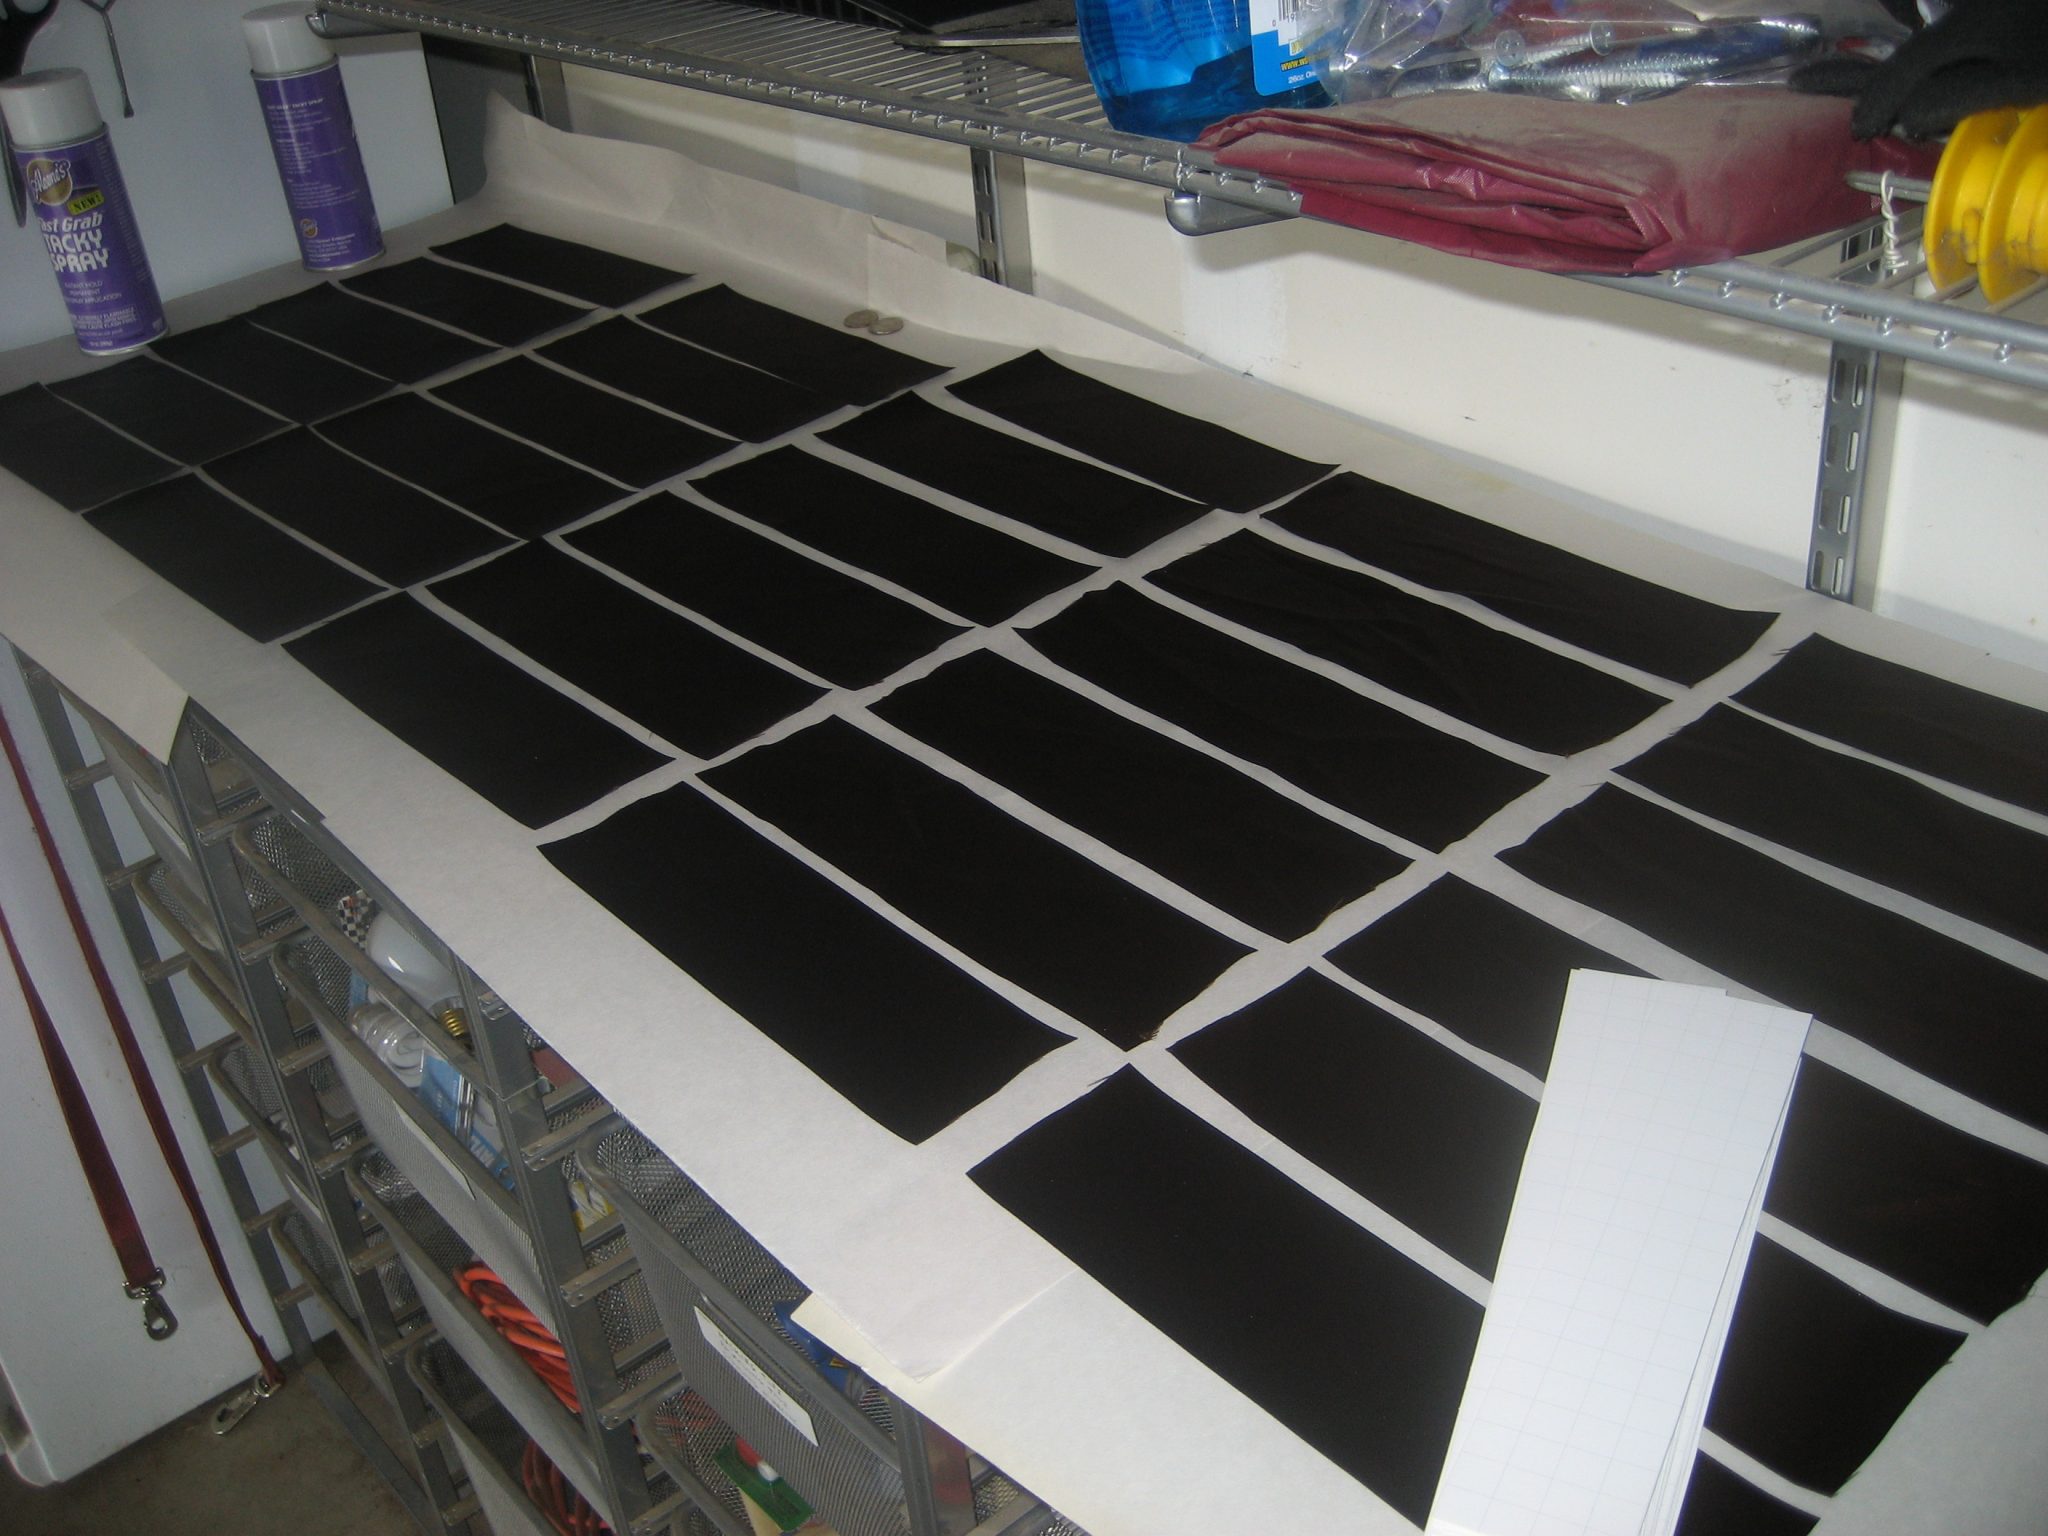
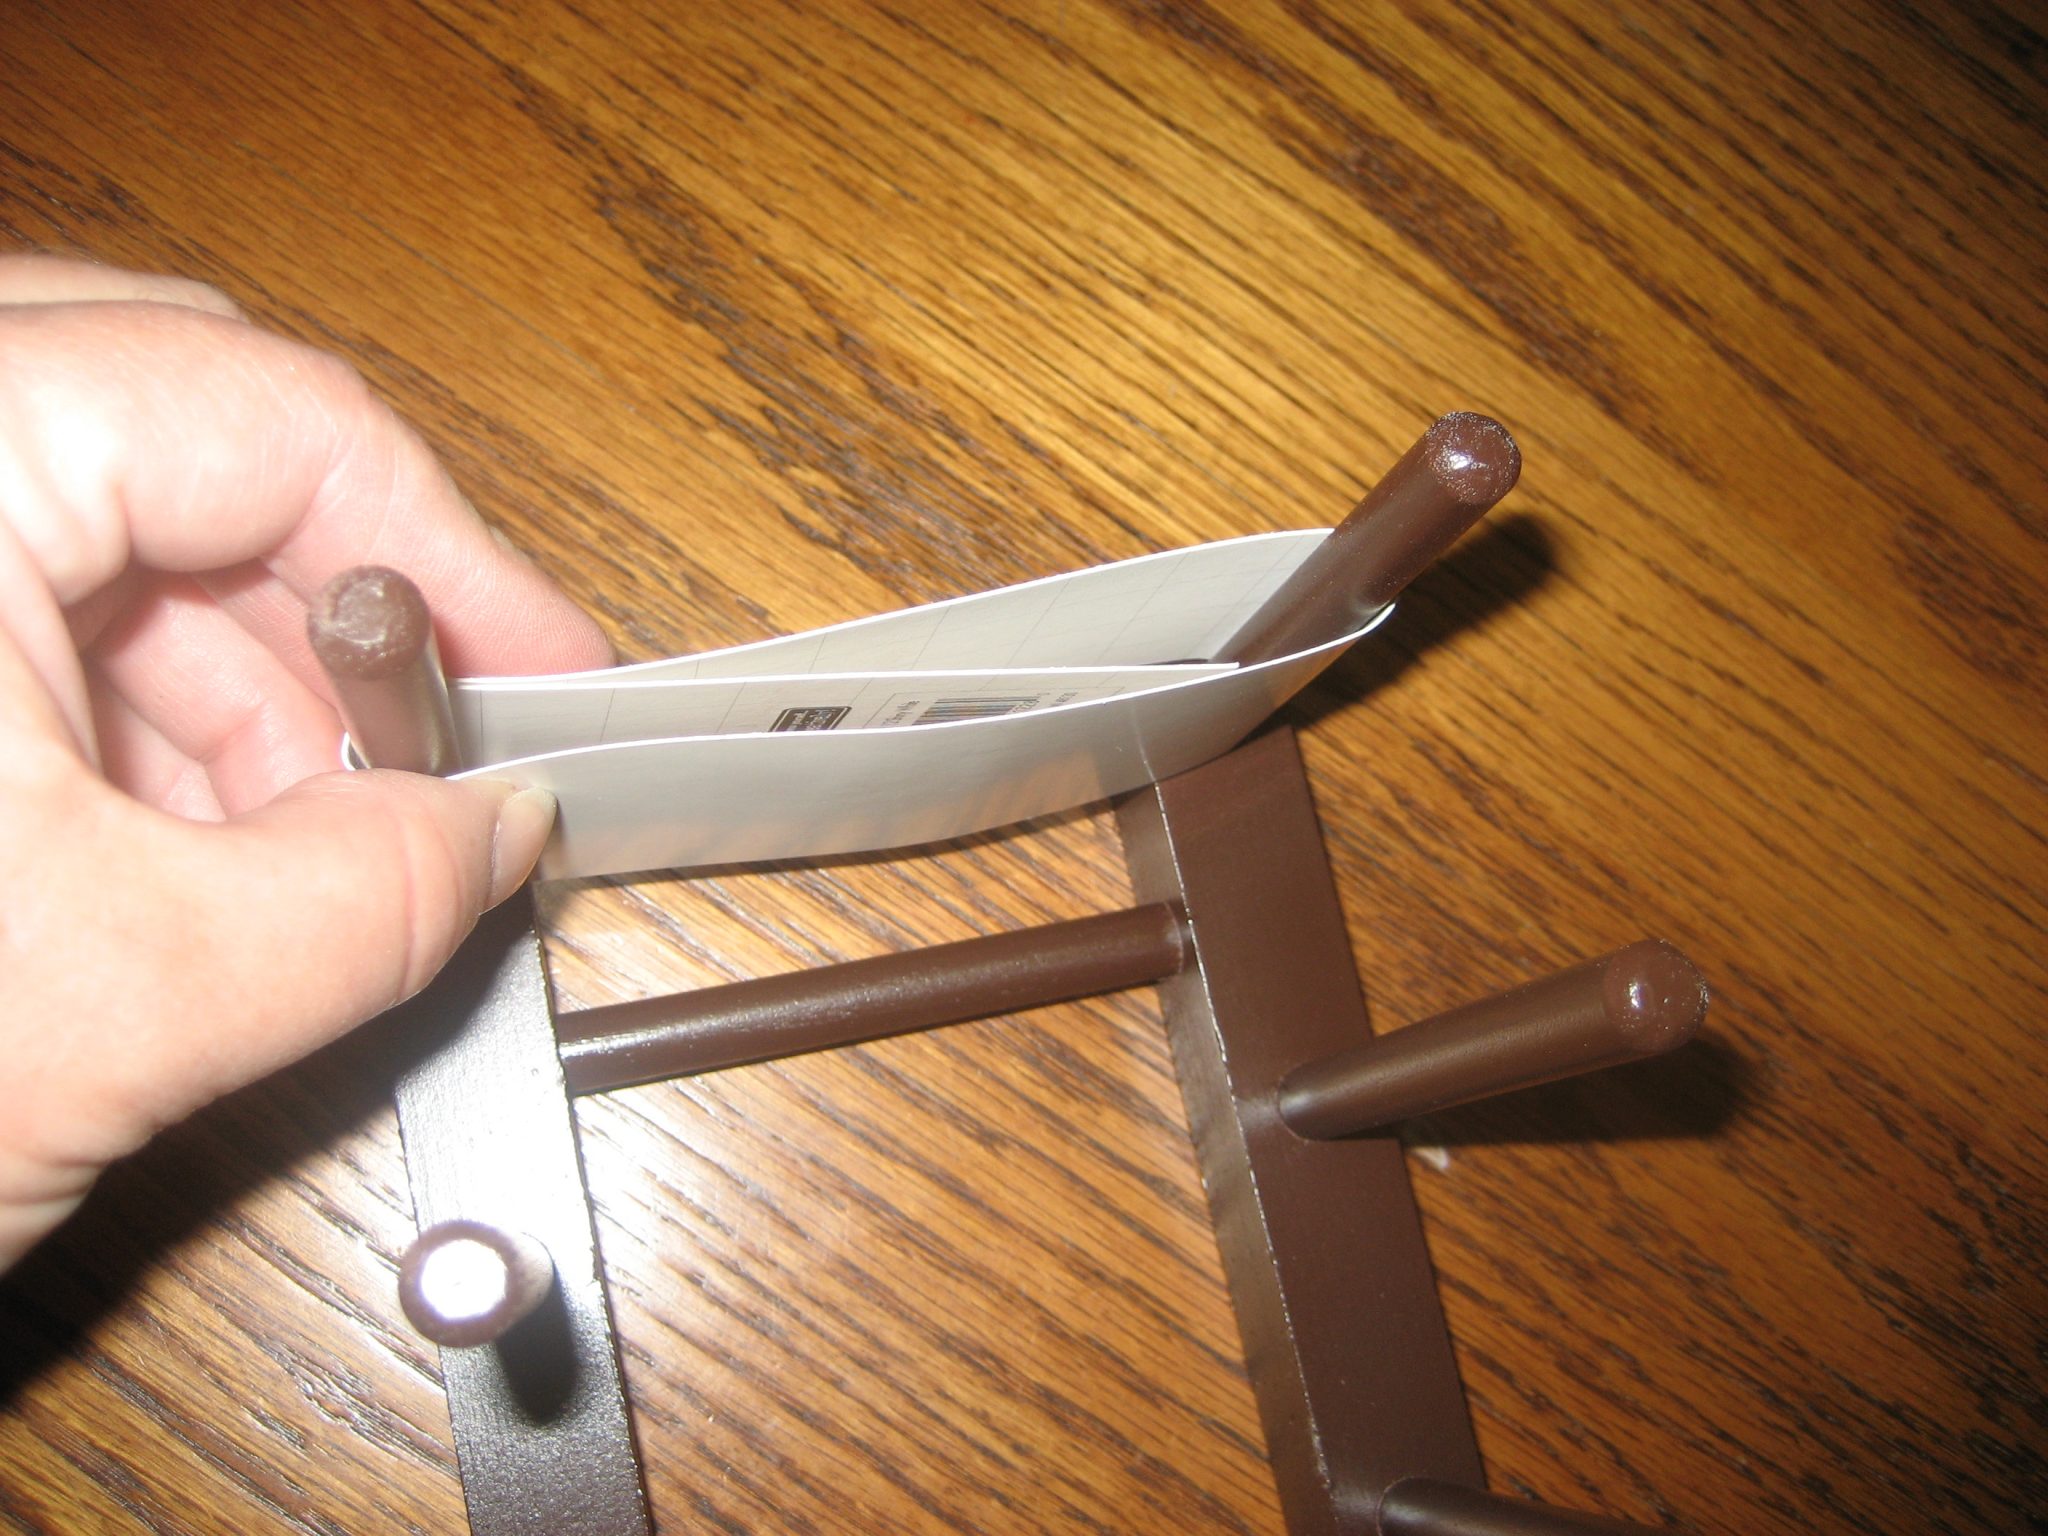
When I attached the posterboard strips onto the ribbon strips, I also folded down the edges on each long side, just like hemming fabric.
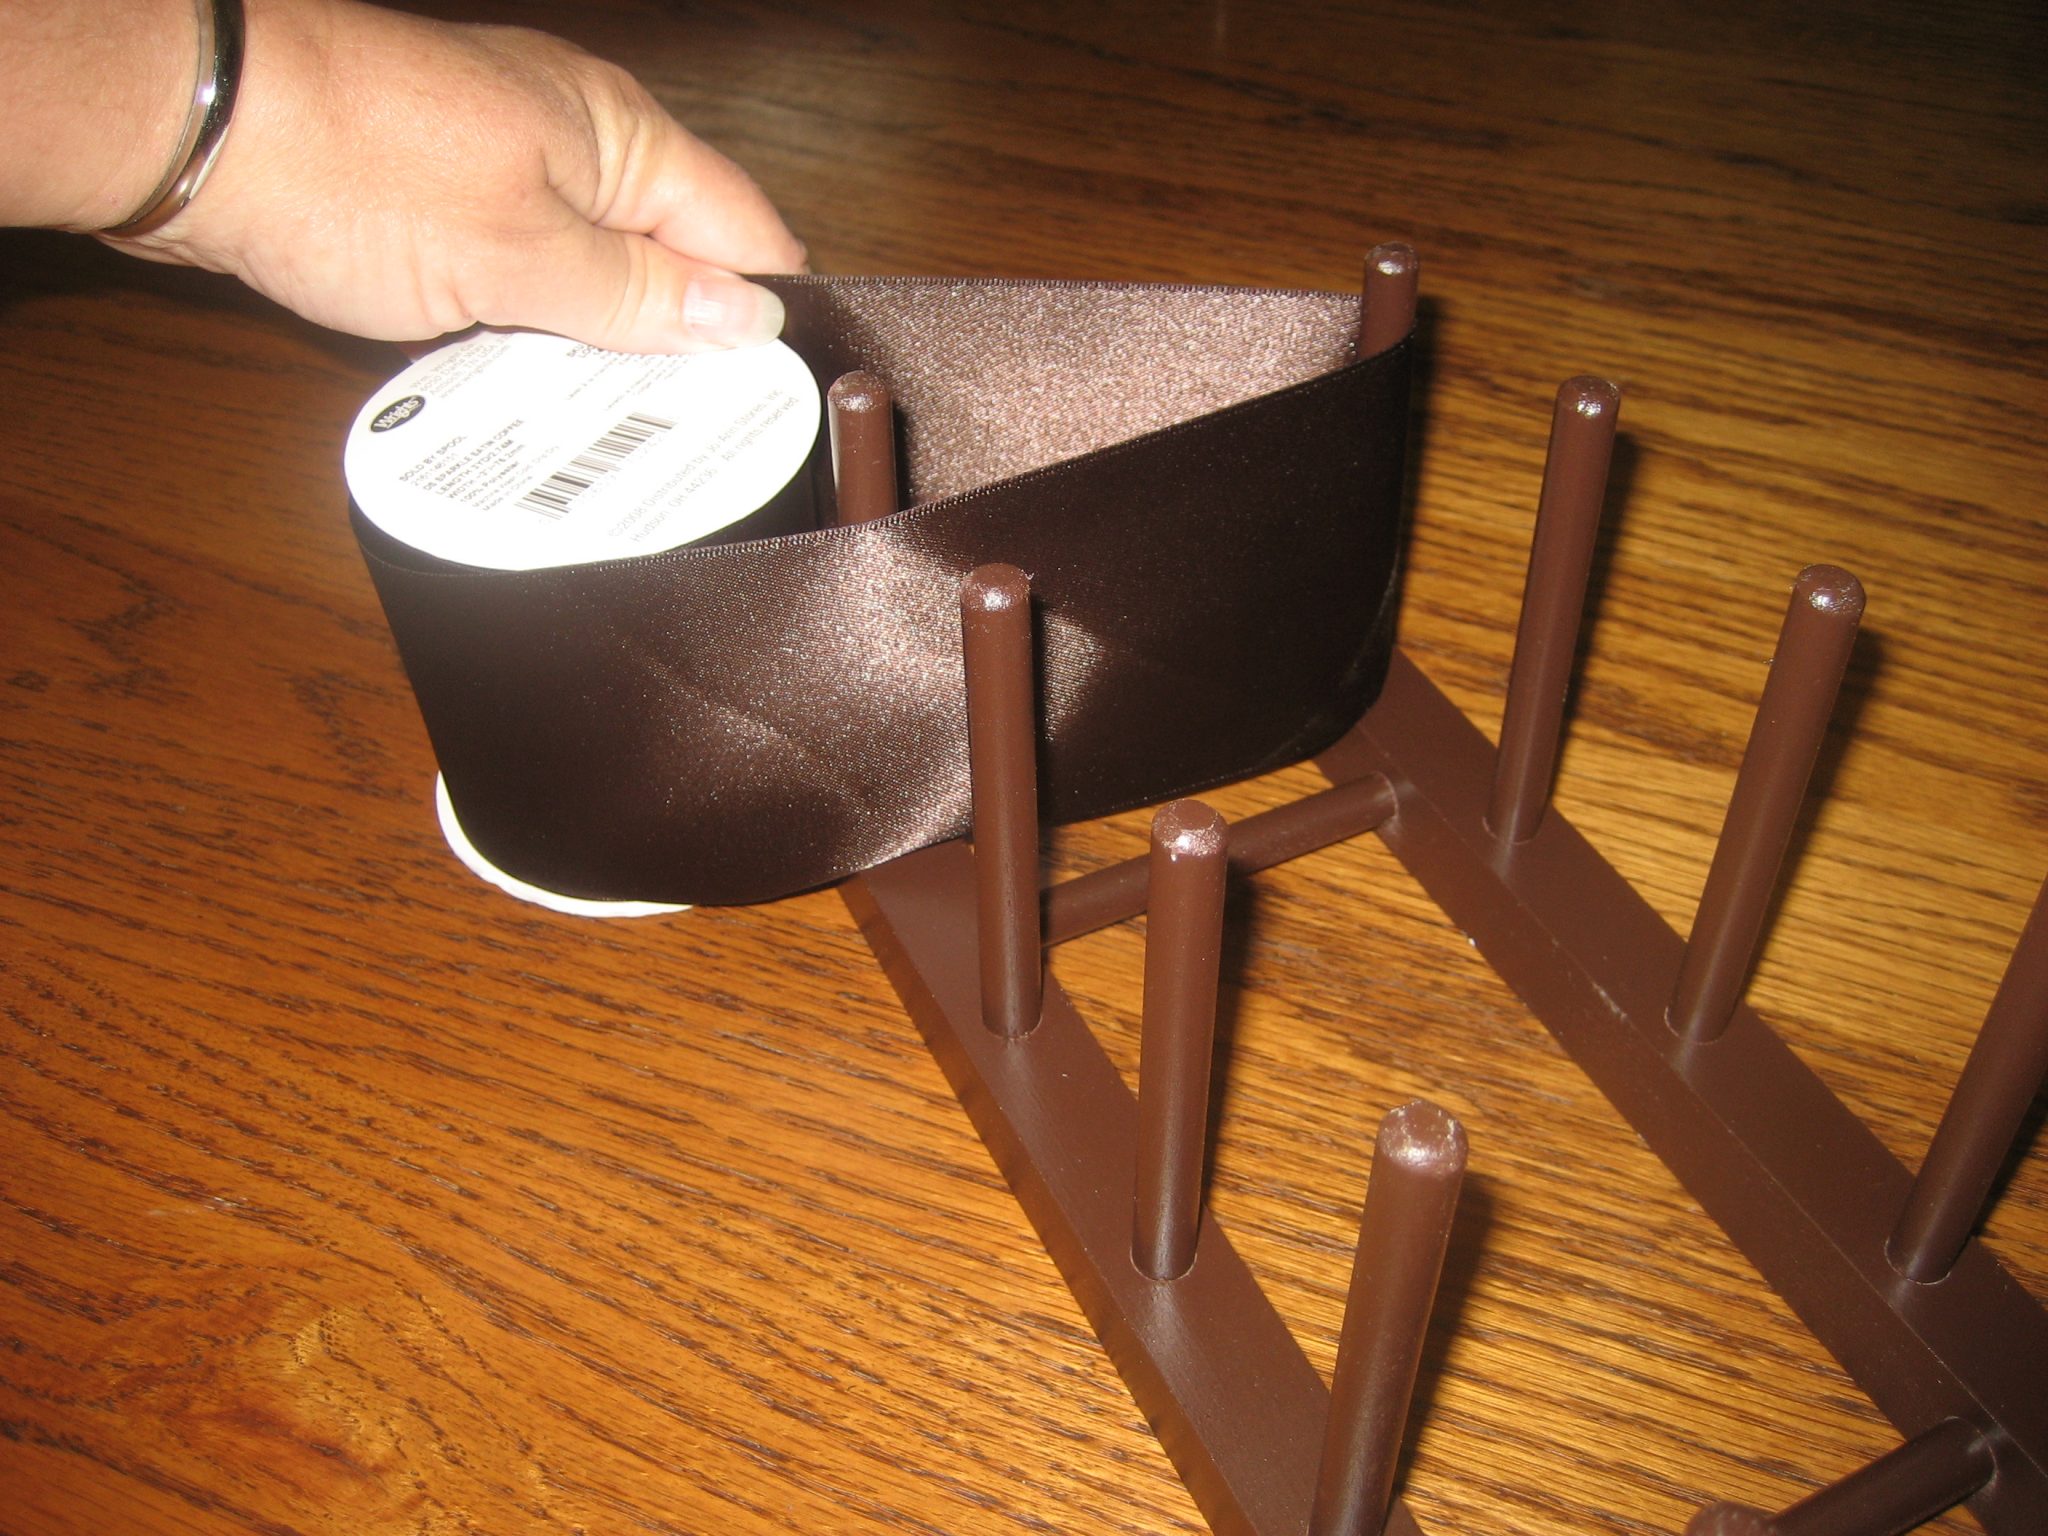
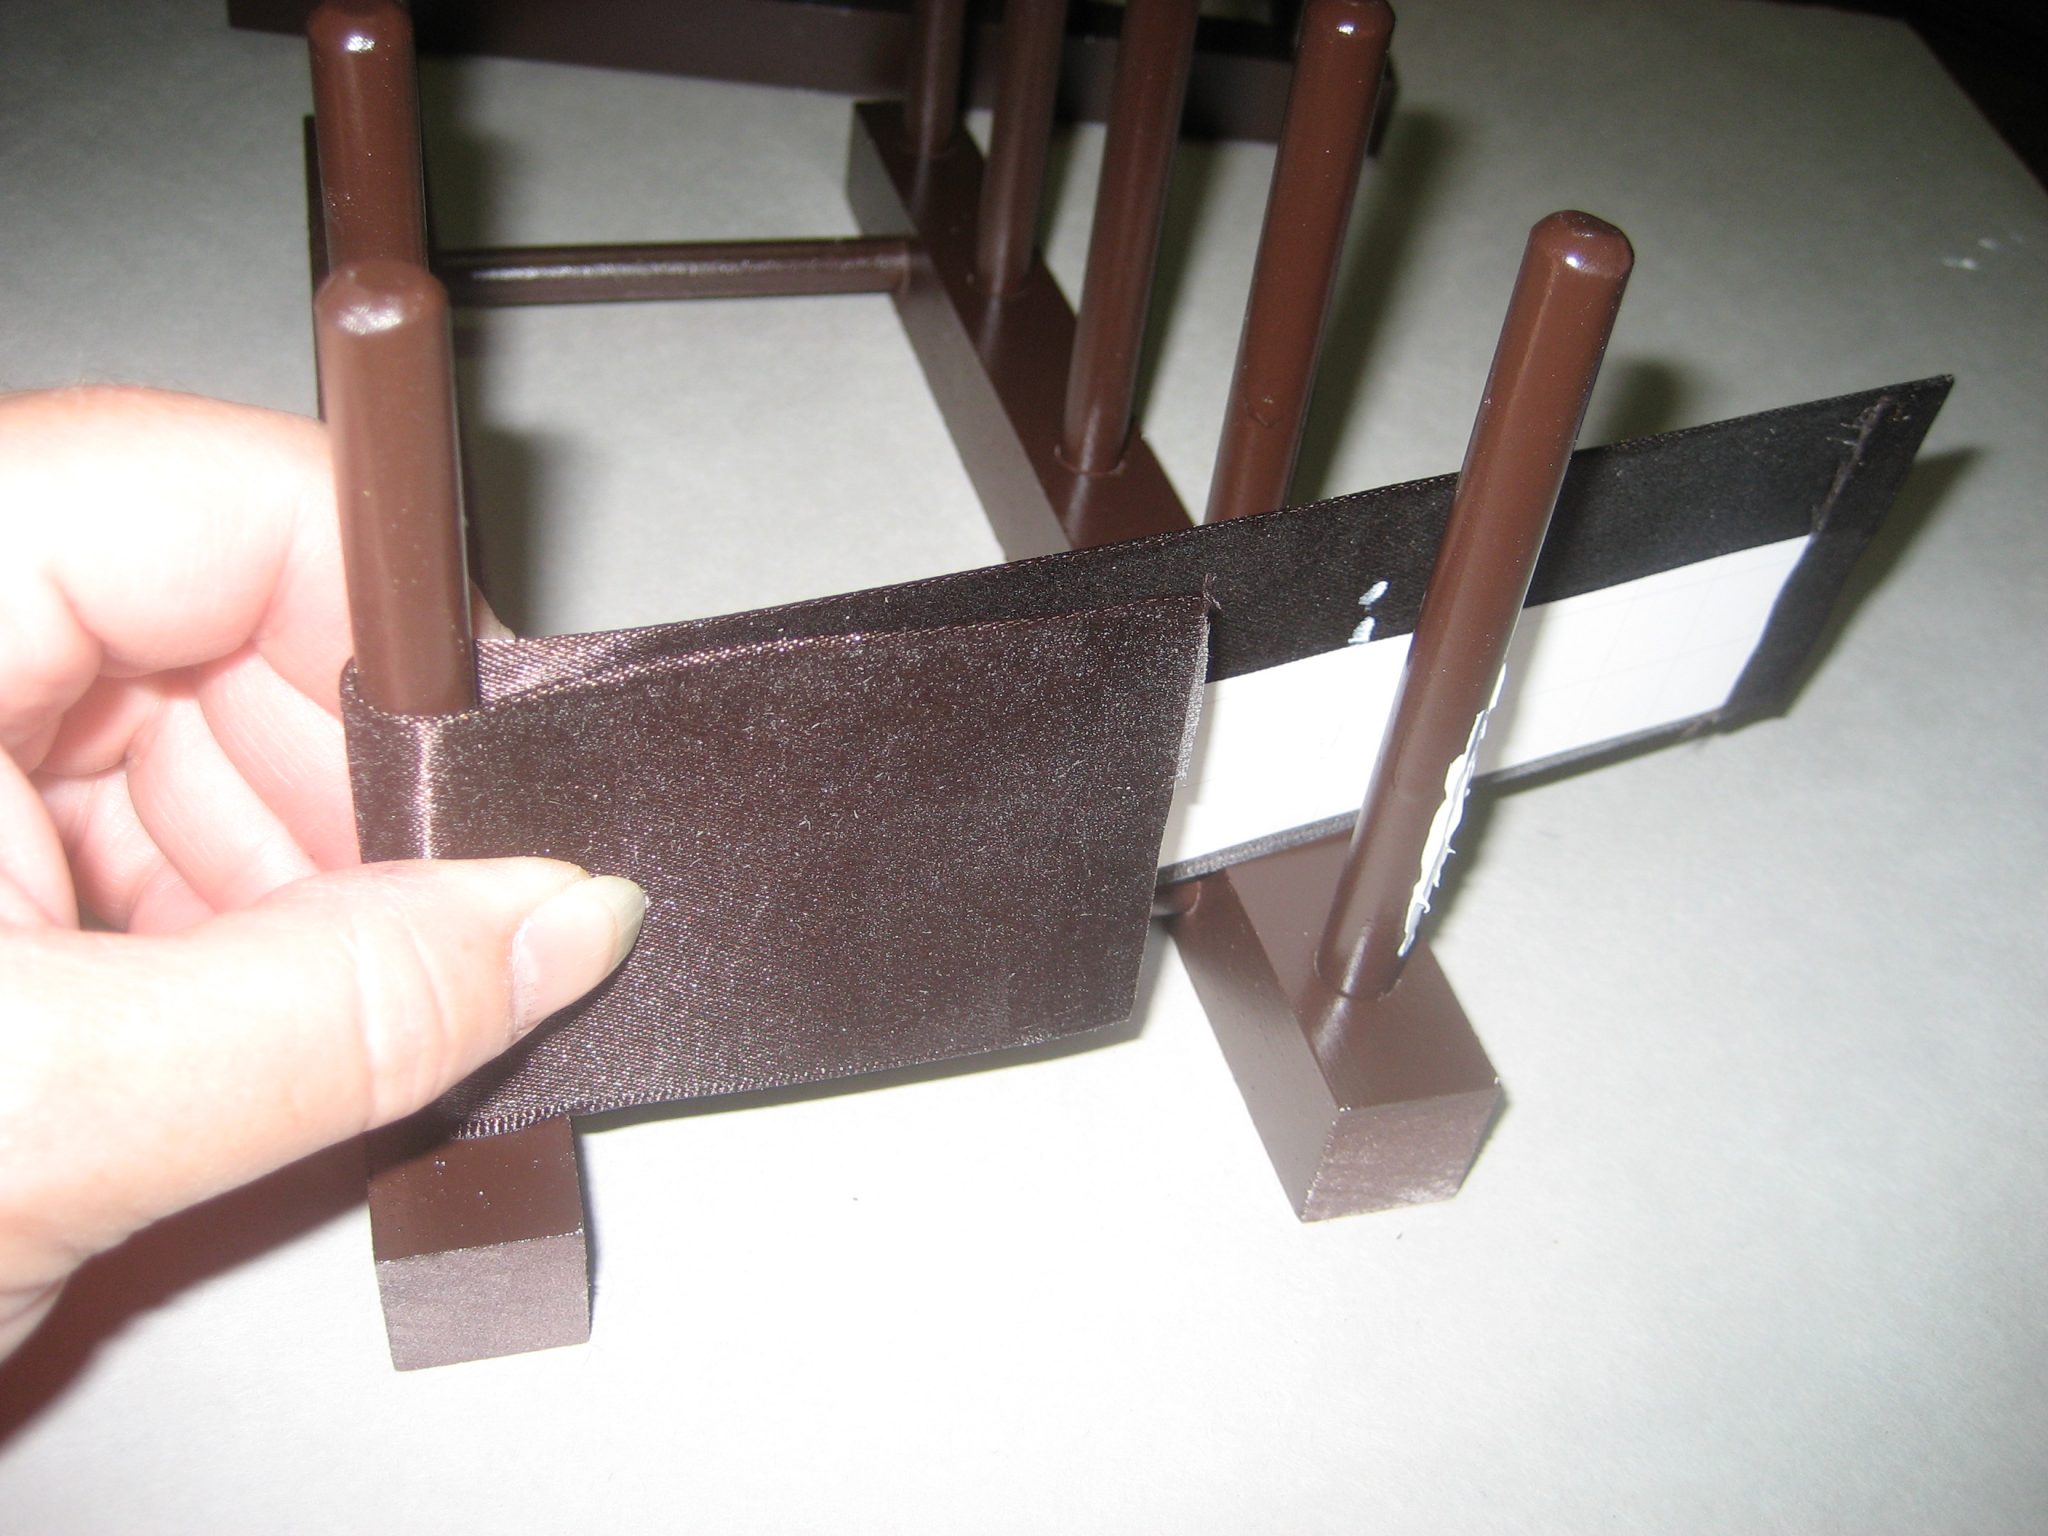
Then, when the stiffened ribbon strips were dry, I wrapped them around the individual dowels, and glued them in place. This was actually kind of fussy and messy but my picture makes it look like it was a dream of an easy project, doesn’t it?
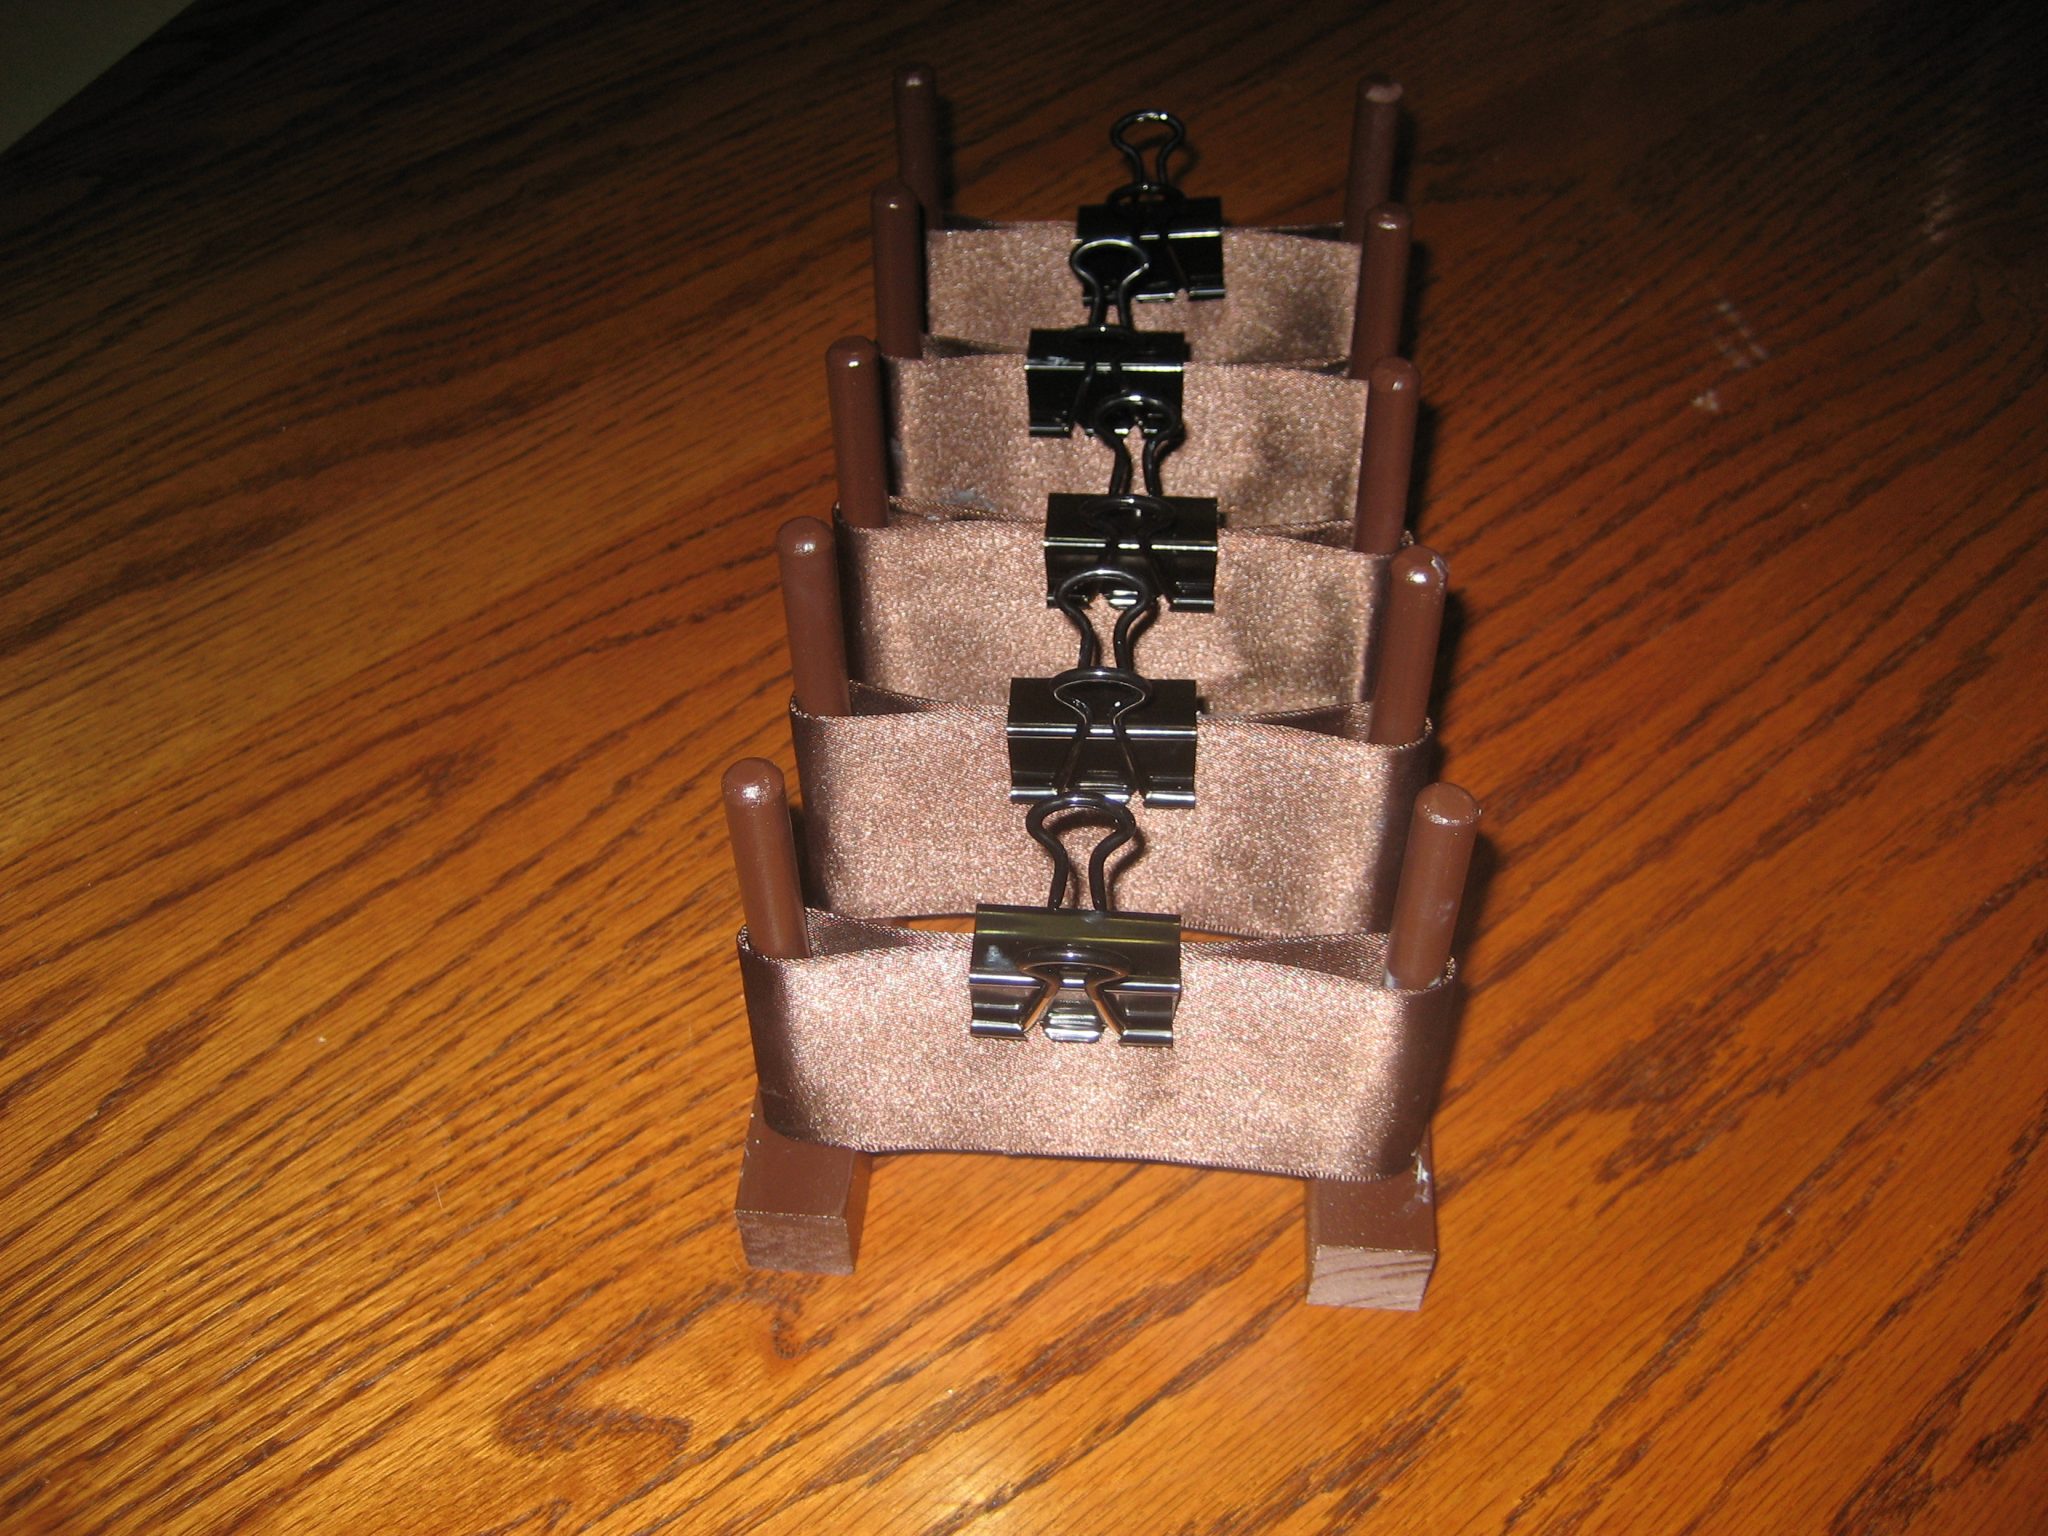
Binder Clips Are The MacGyver Of Office Supplies
Finally, I used binder clips to hold the ribbon-and-cardboard pieces in place while the glue dried. Clever! Did you know that binder clips are the MacGyver of office supplies? Is there anything they can’t do?
Finished!
Here’s the finished product, below. Isn’t it pretty?
See how the purses will stay separated into their individual rows now, and not get tangled up in the dowels?
One more final step – I knew that the purse racks would slide around on the closet shelves, so I fastened them down with some adhesive strips. Here’s the closet shelf almost filled with purses.
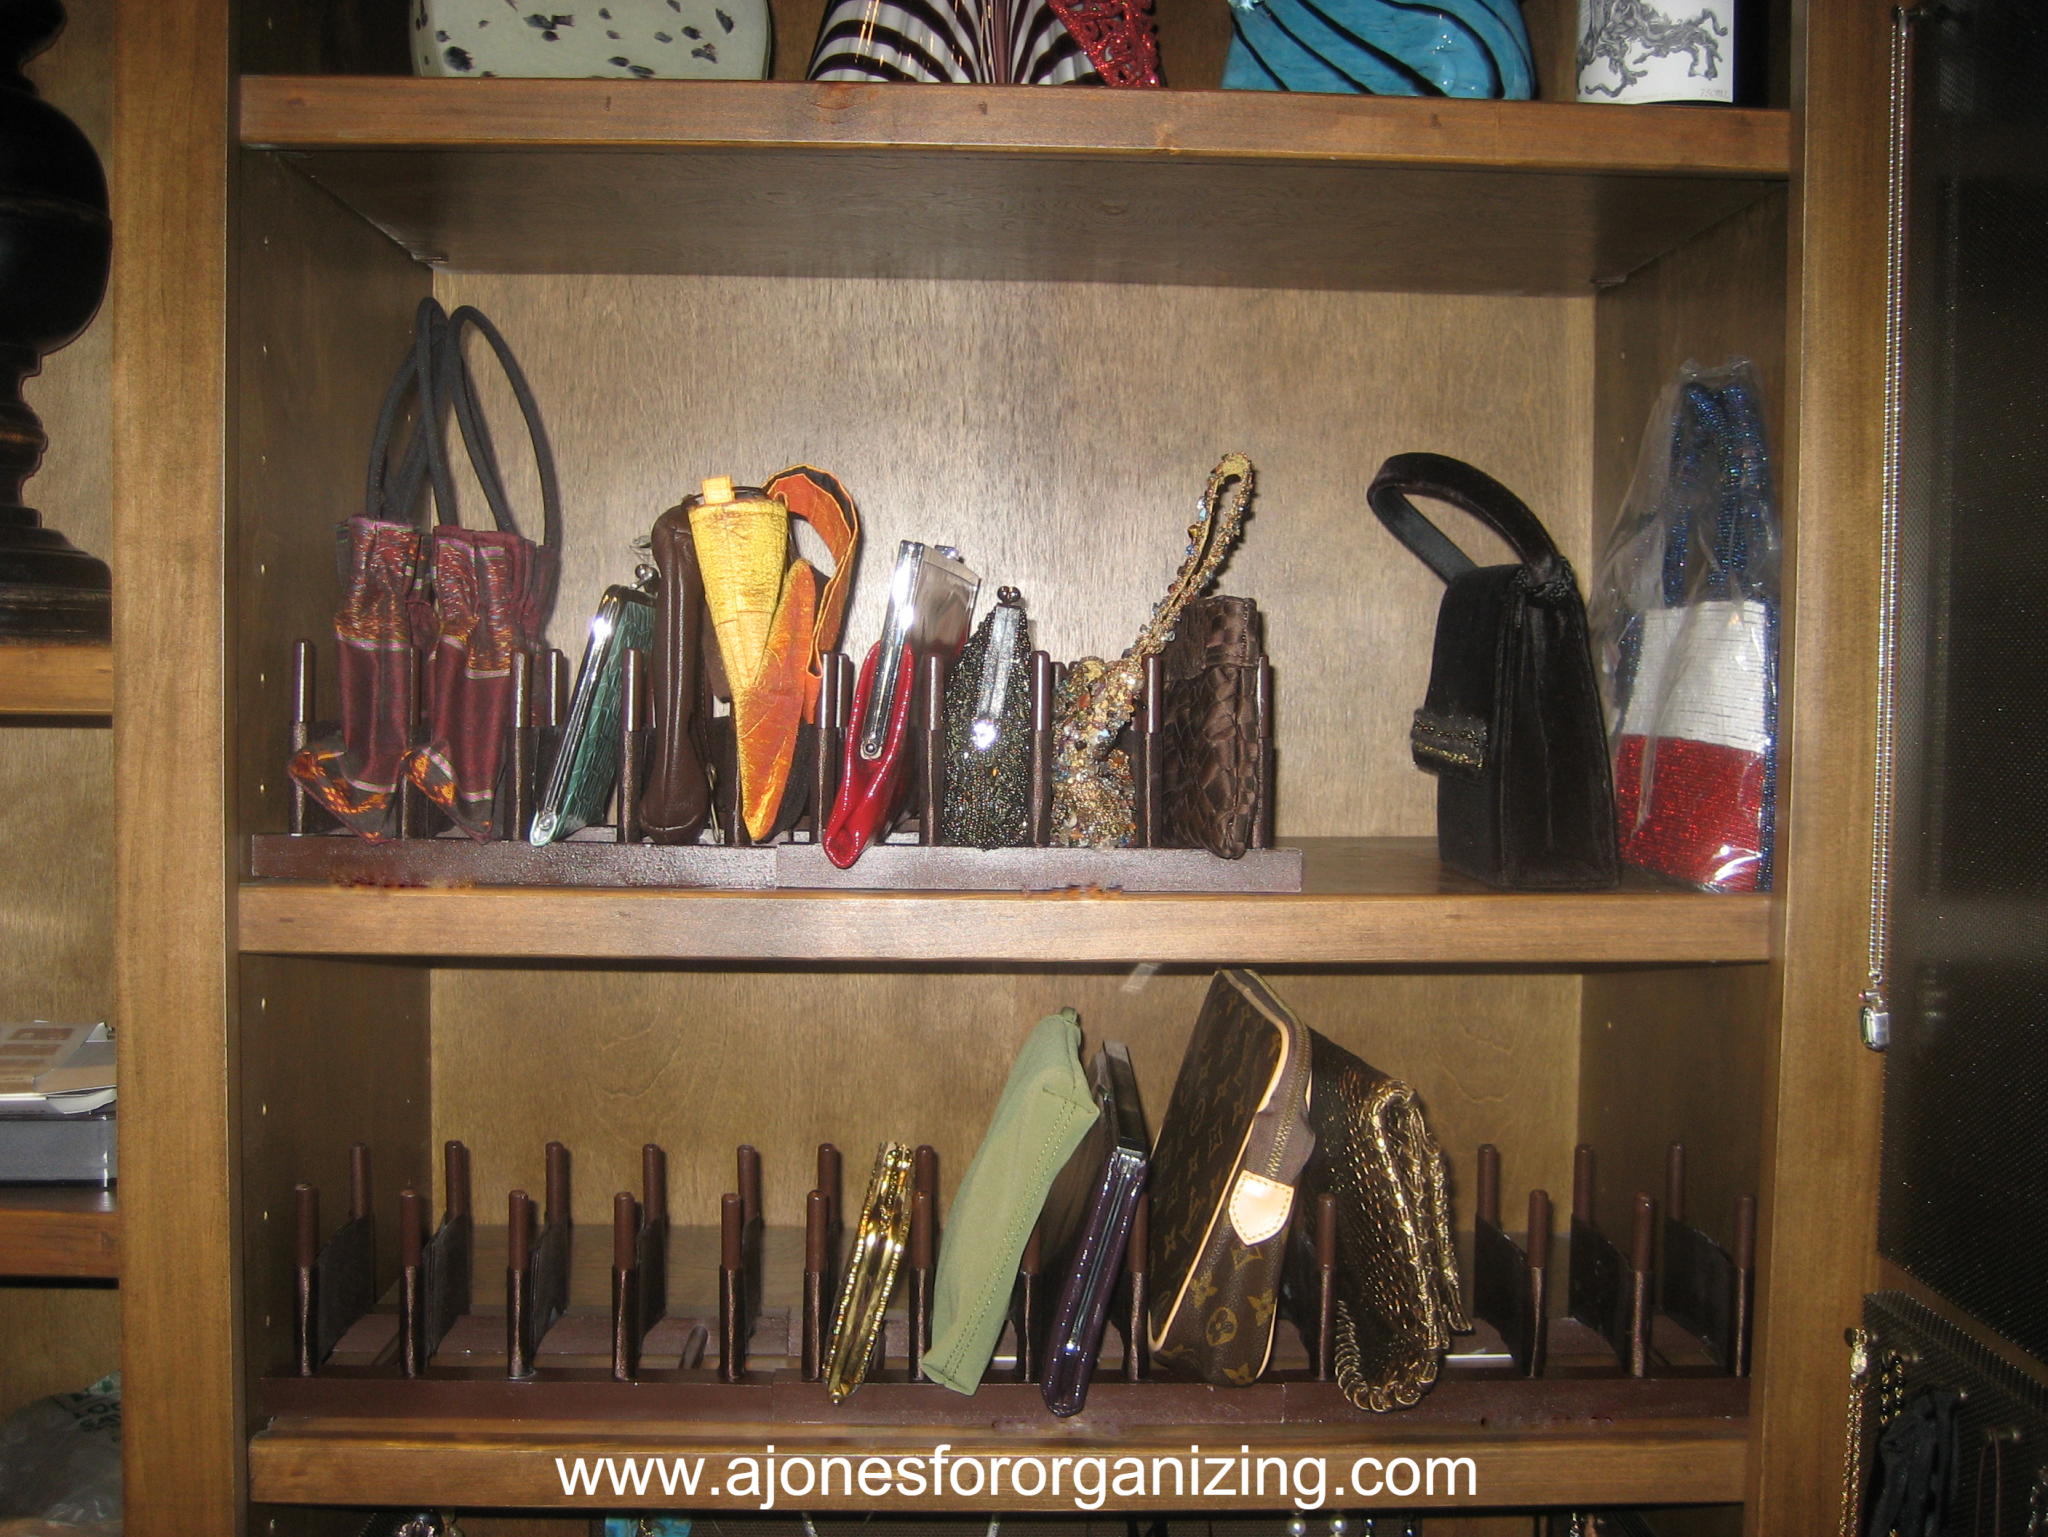
Here it is all full and DONE! I left a space open on the upper right shelf for the larger purses that didn’t fit between the dowels.
I had so much fun with this project! Can I help with a creative way to keep your belongings organized? Contact me!
Linda Samuels
Your rack project is such a labor of creativity and love! What an excellent solution for organizing the “slumping” evening bags. I bet your client smiles every time she goes to select a purse.
A Jones For Organizing
Thanks Linda! It was super fun.
Hazel Thornton
Very fun project, Carol! Yes, I WAS worried about the purses scraping the paint! Whew!
A Jones For Organizing
Ha, thanks Hazel! I love problem-solving like this.
Seana Turner
Love your attention to detail in thinking through the potential “scratch” factor of the sequins on the painted wood. What a joy to now reach up and easily retrieve the desired clutch!
A Jones For Organizing
Thanks Seana! Truly, the joy is in the details.
Nancy Haworth
You did a wonderful job on this project! Great photos and step-by-step instructions. I love how the organized clutch purses look on the shelves.
A Jones For Organizing
Thanks Nancy!